Instagram can be a nice tool to share photos with a selected group of people. It allows you to add text and comments and you can easily ‘Like’ photos you see.
It’s a bit like a simpler Facebook for photos. You can either share your photos with the world or with people you have allowed to see your photos – but you can’t mix these options.
Here some tips for Instagram on the iPad
For a start: there is unfortunately no app made by Instagram that is designed for the iPad. The official Instagram app is made for mobile phones and works only in portrait mode (that means you need to turn your iPad upright if when you use the app). It also makes it more difficult to actually find and install the app. You do get apps for Instagram for iPads – but these can only be used to see photos and to re-post photos you see online. They can not be used to post your own photos.
Downloading and installing the official Instagram app
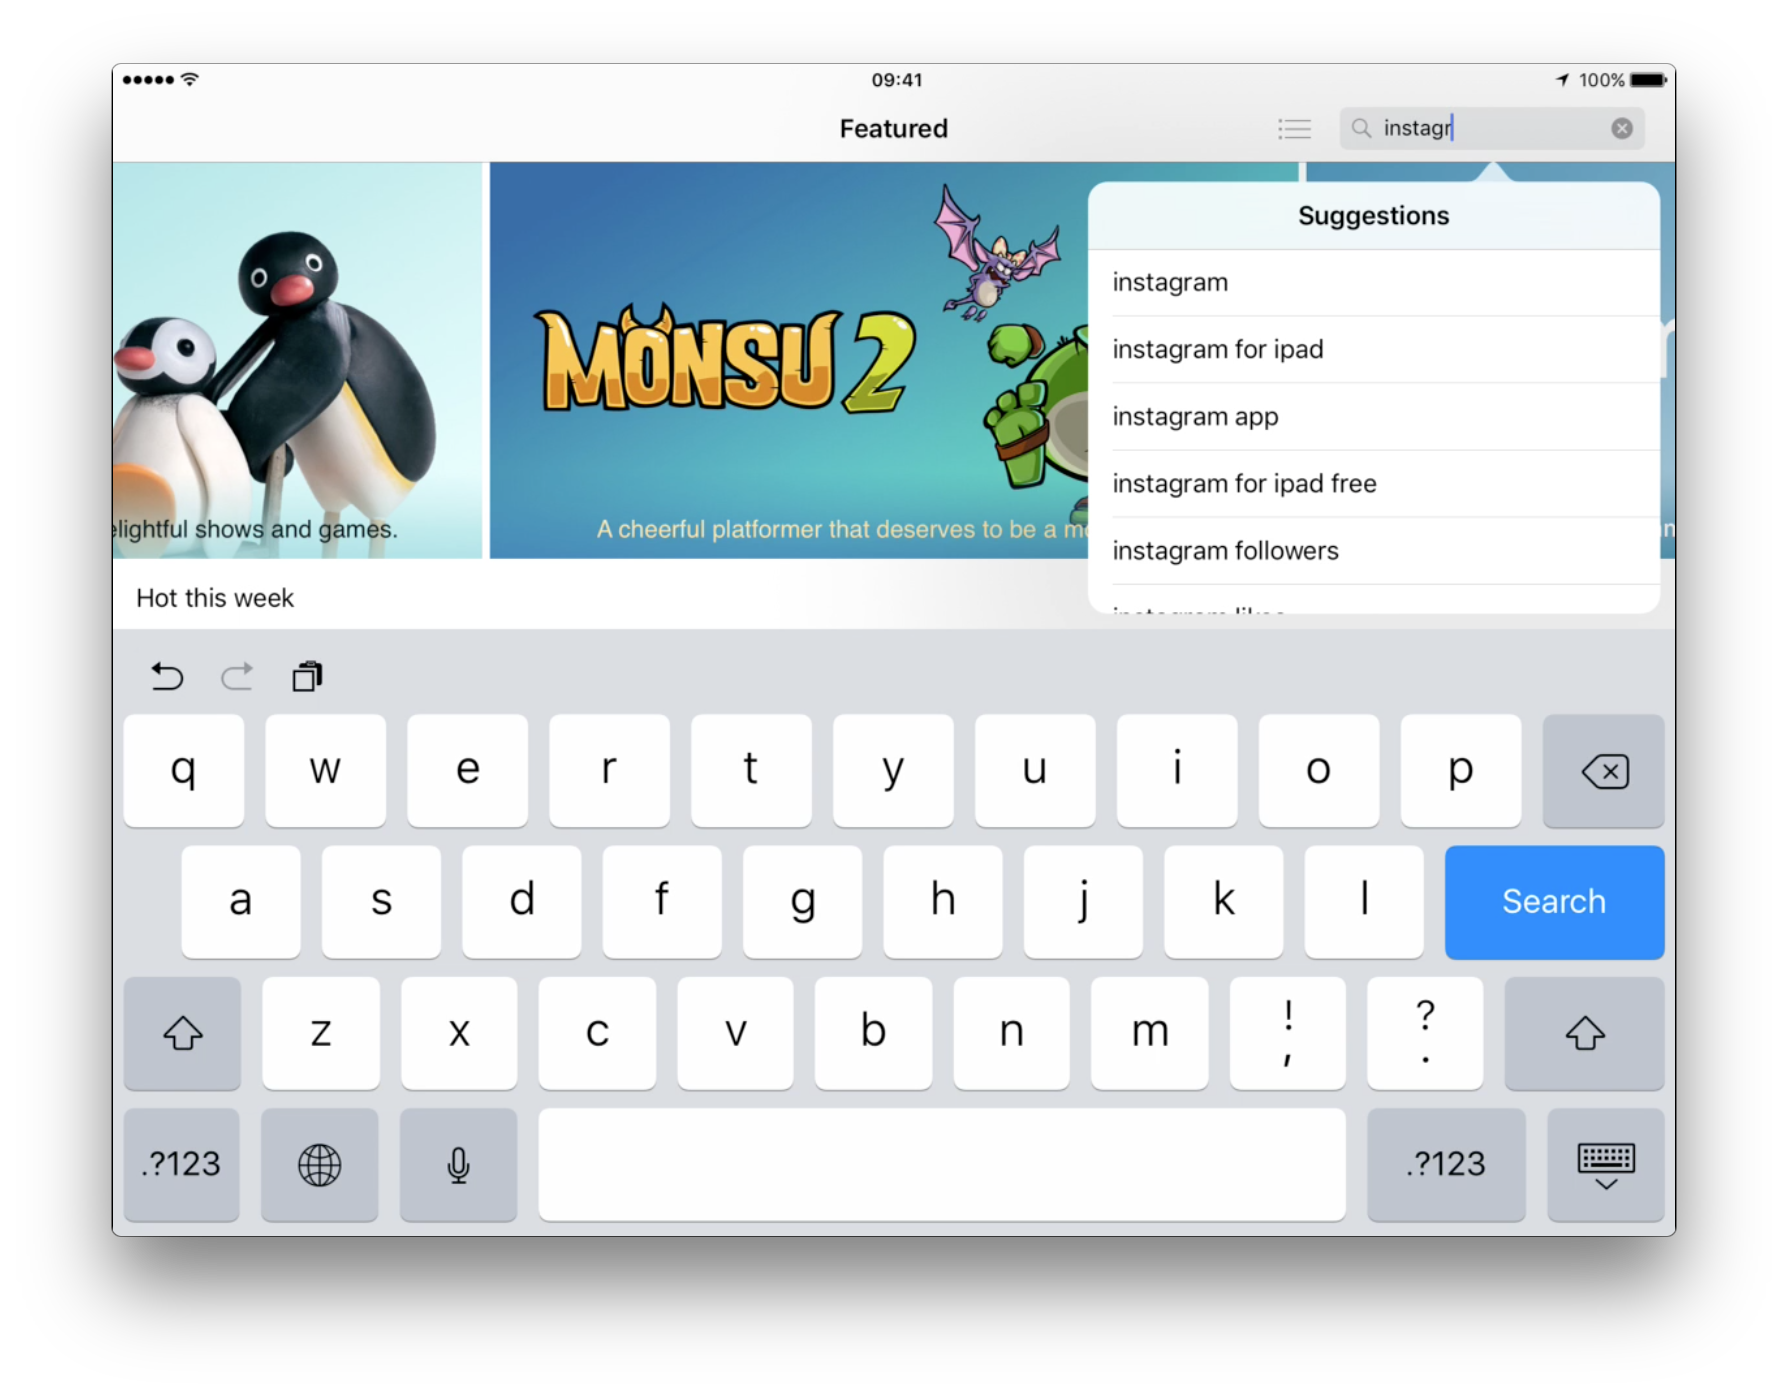
Go to the App Store app and search for ‘Instagram’ by typing into the search field in the top right corner:
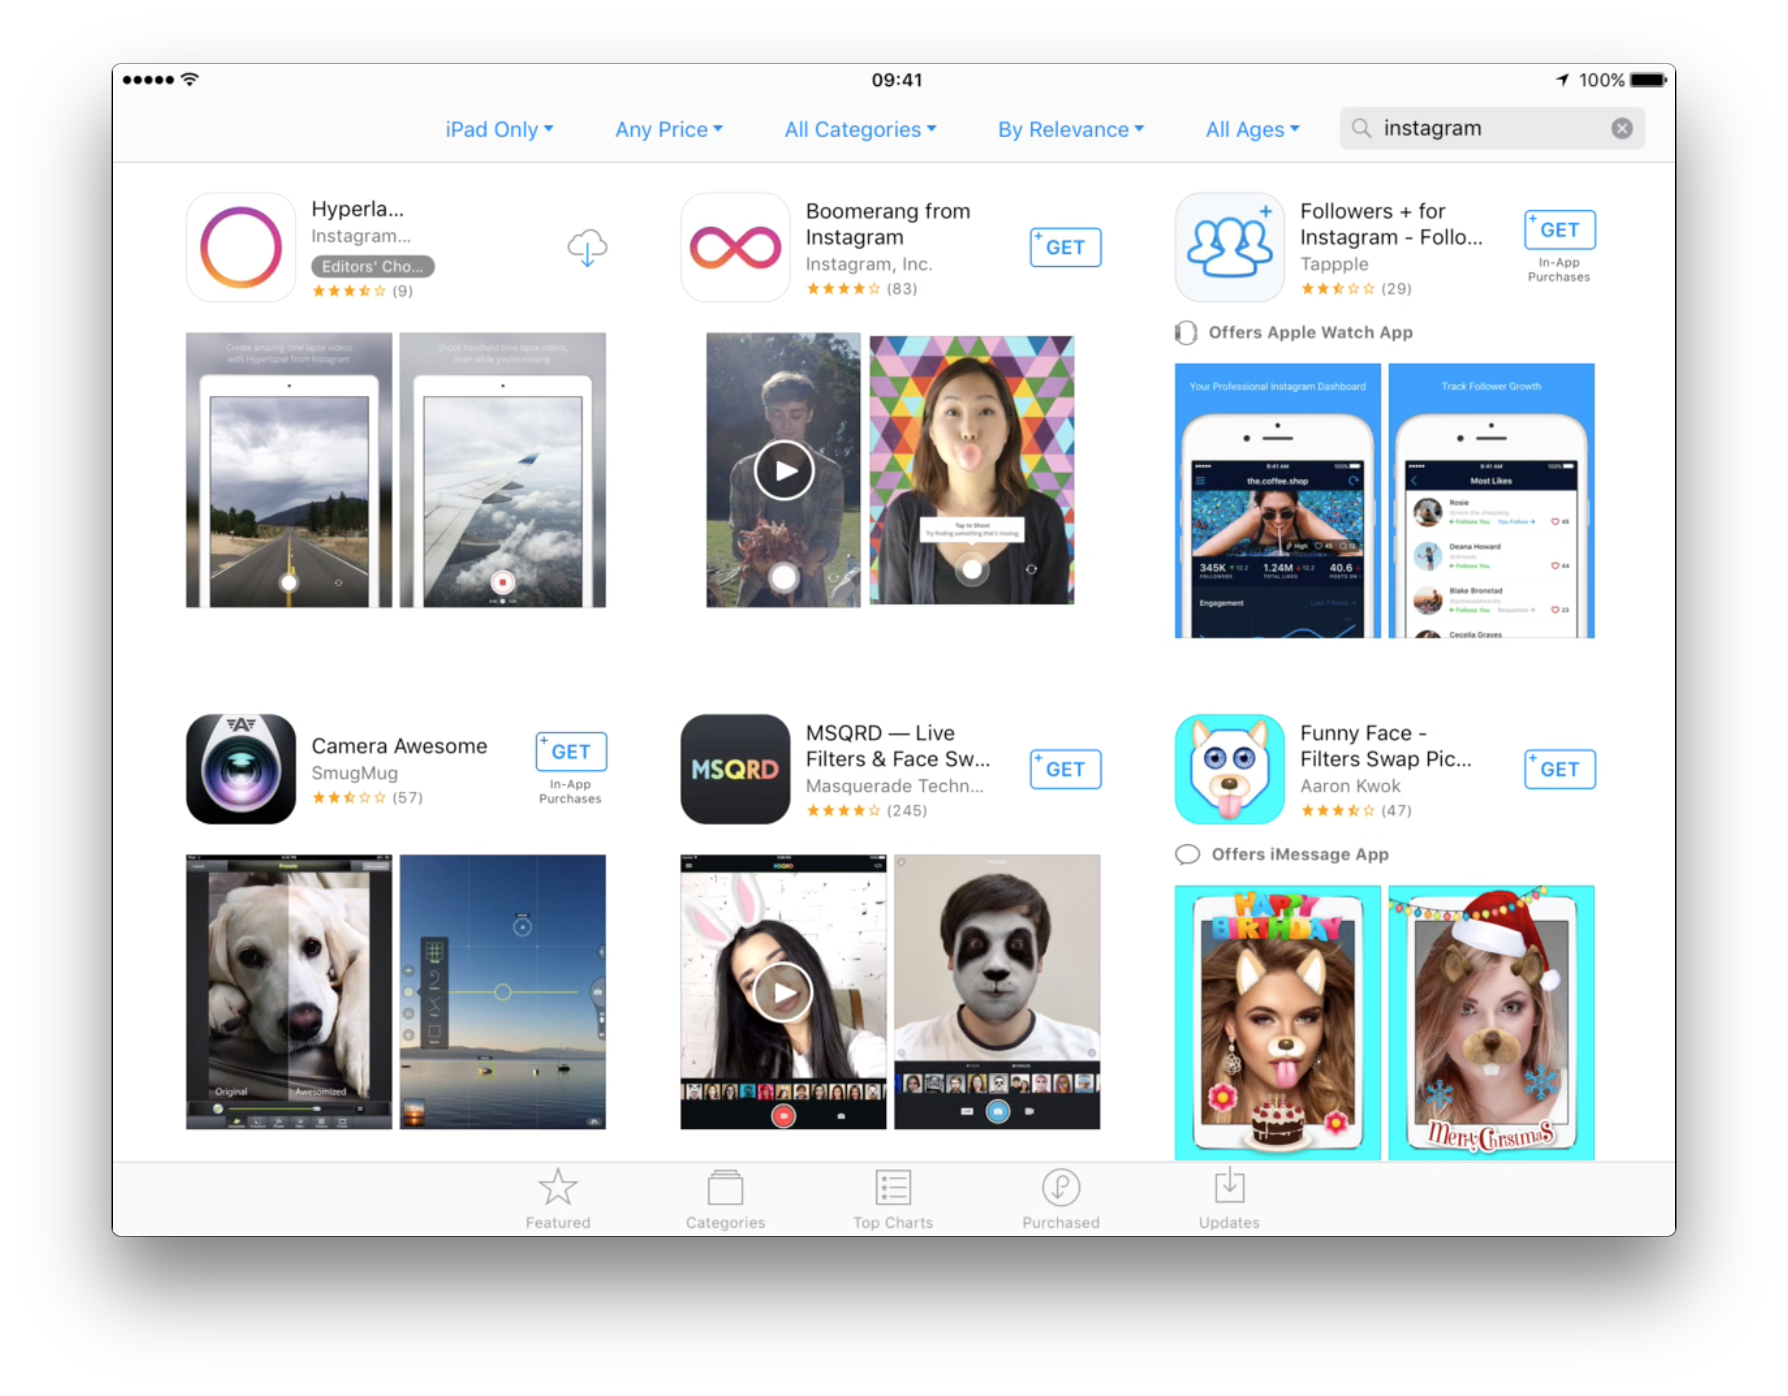
Even though the App Store suggests a lot of Instagram, when you tap ‘instagram’ you will not find the official app:
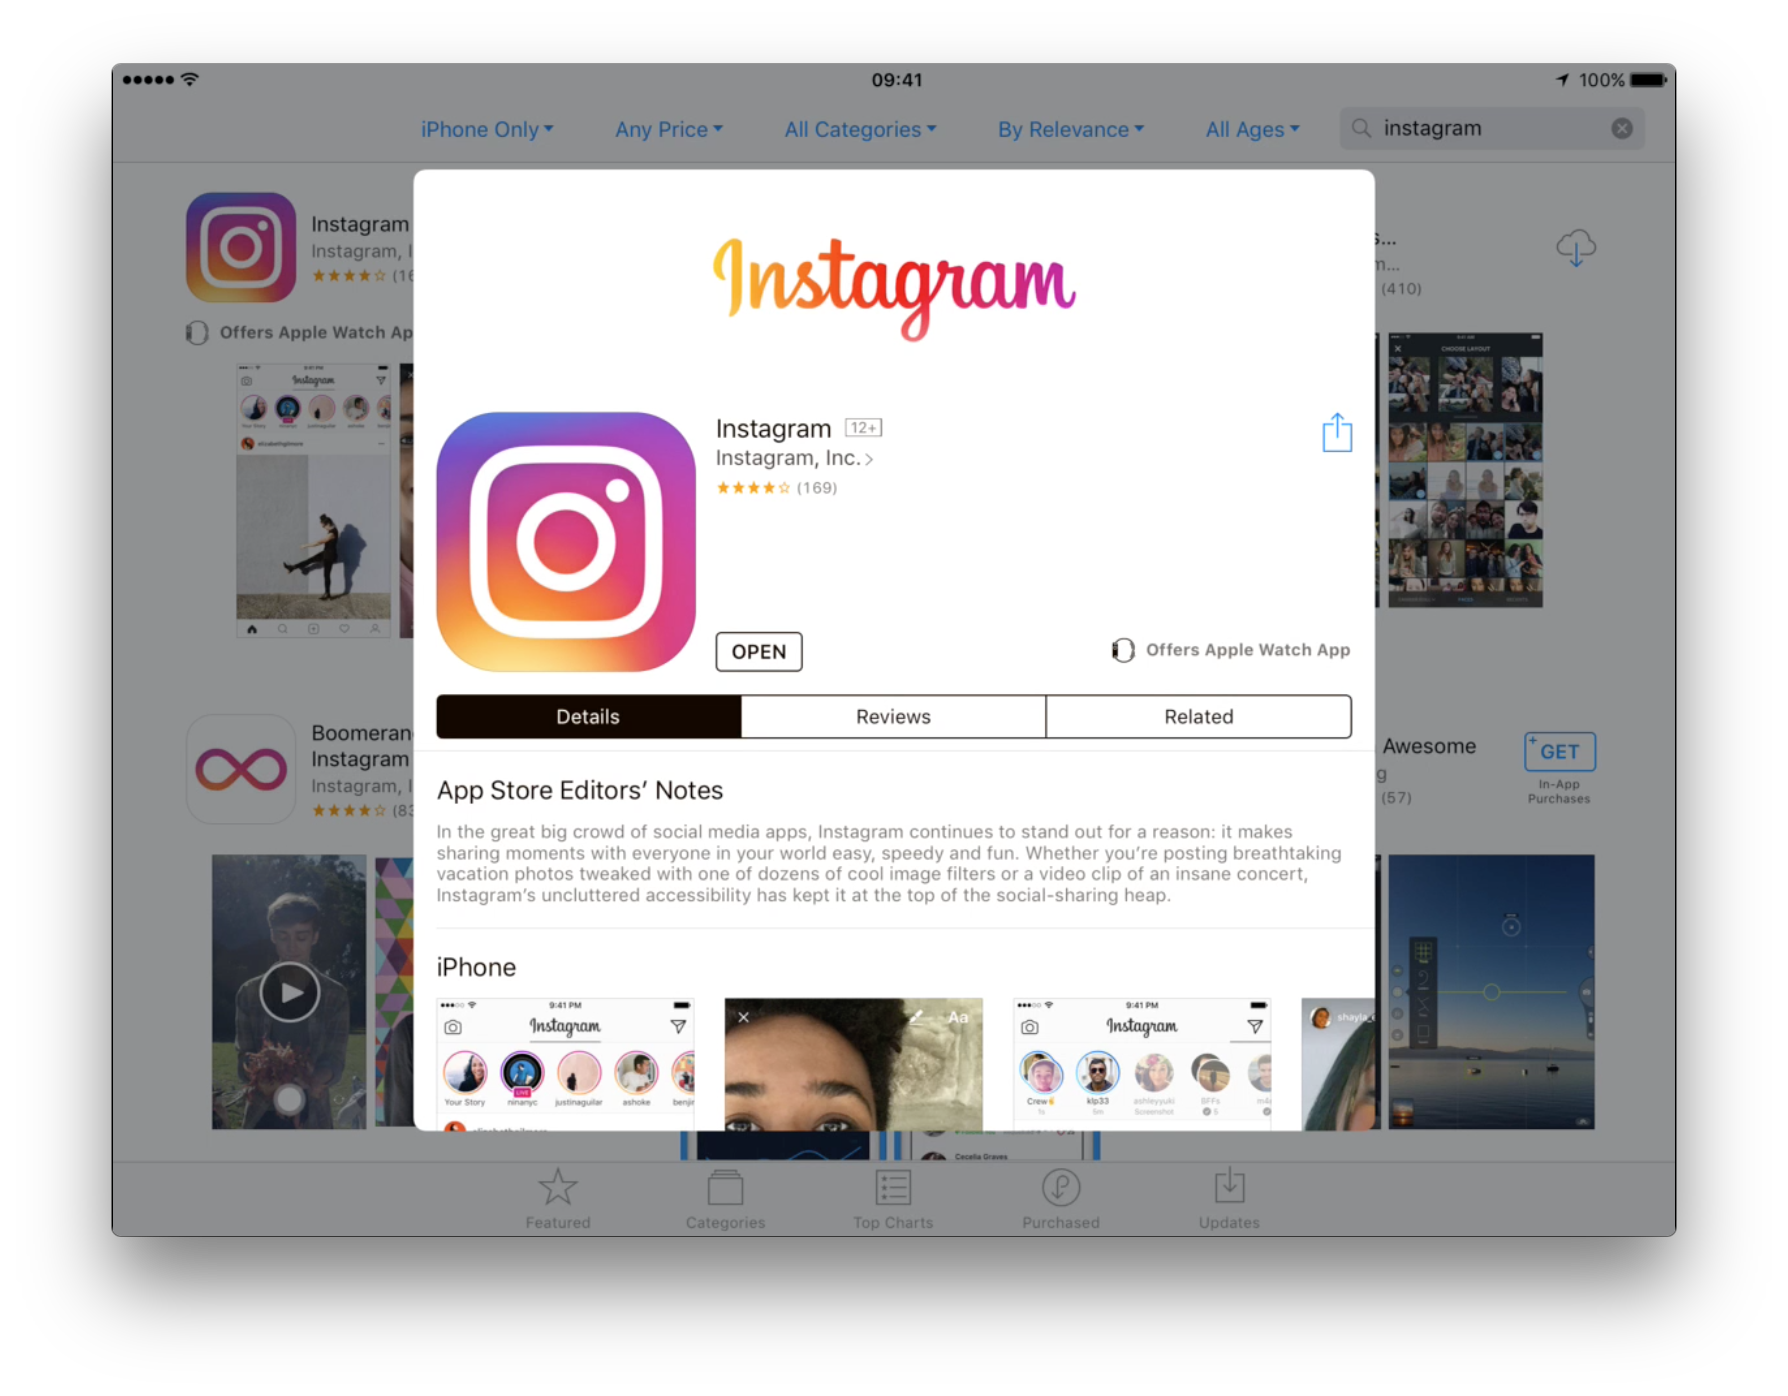
Only if you change “iPad Only” to “iPhone Only” you will be able to see the app and download it (in the image I have tapped on the app to see the details. Also, there is not download button, only an “Open” button since I have already downloaded the app).
When you have downloaded the app, it will open in landscape format but then quickly turn round and change into portrait format – you may turn your iPad round now… 🙂
Setting up an Instagram account
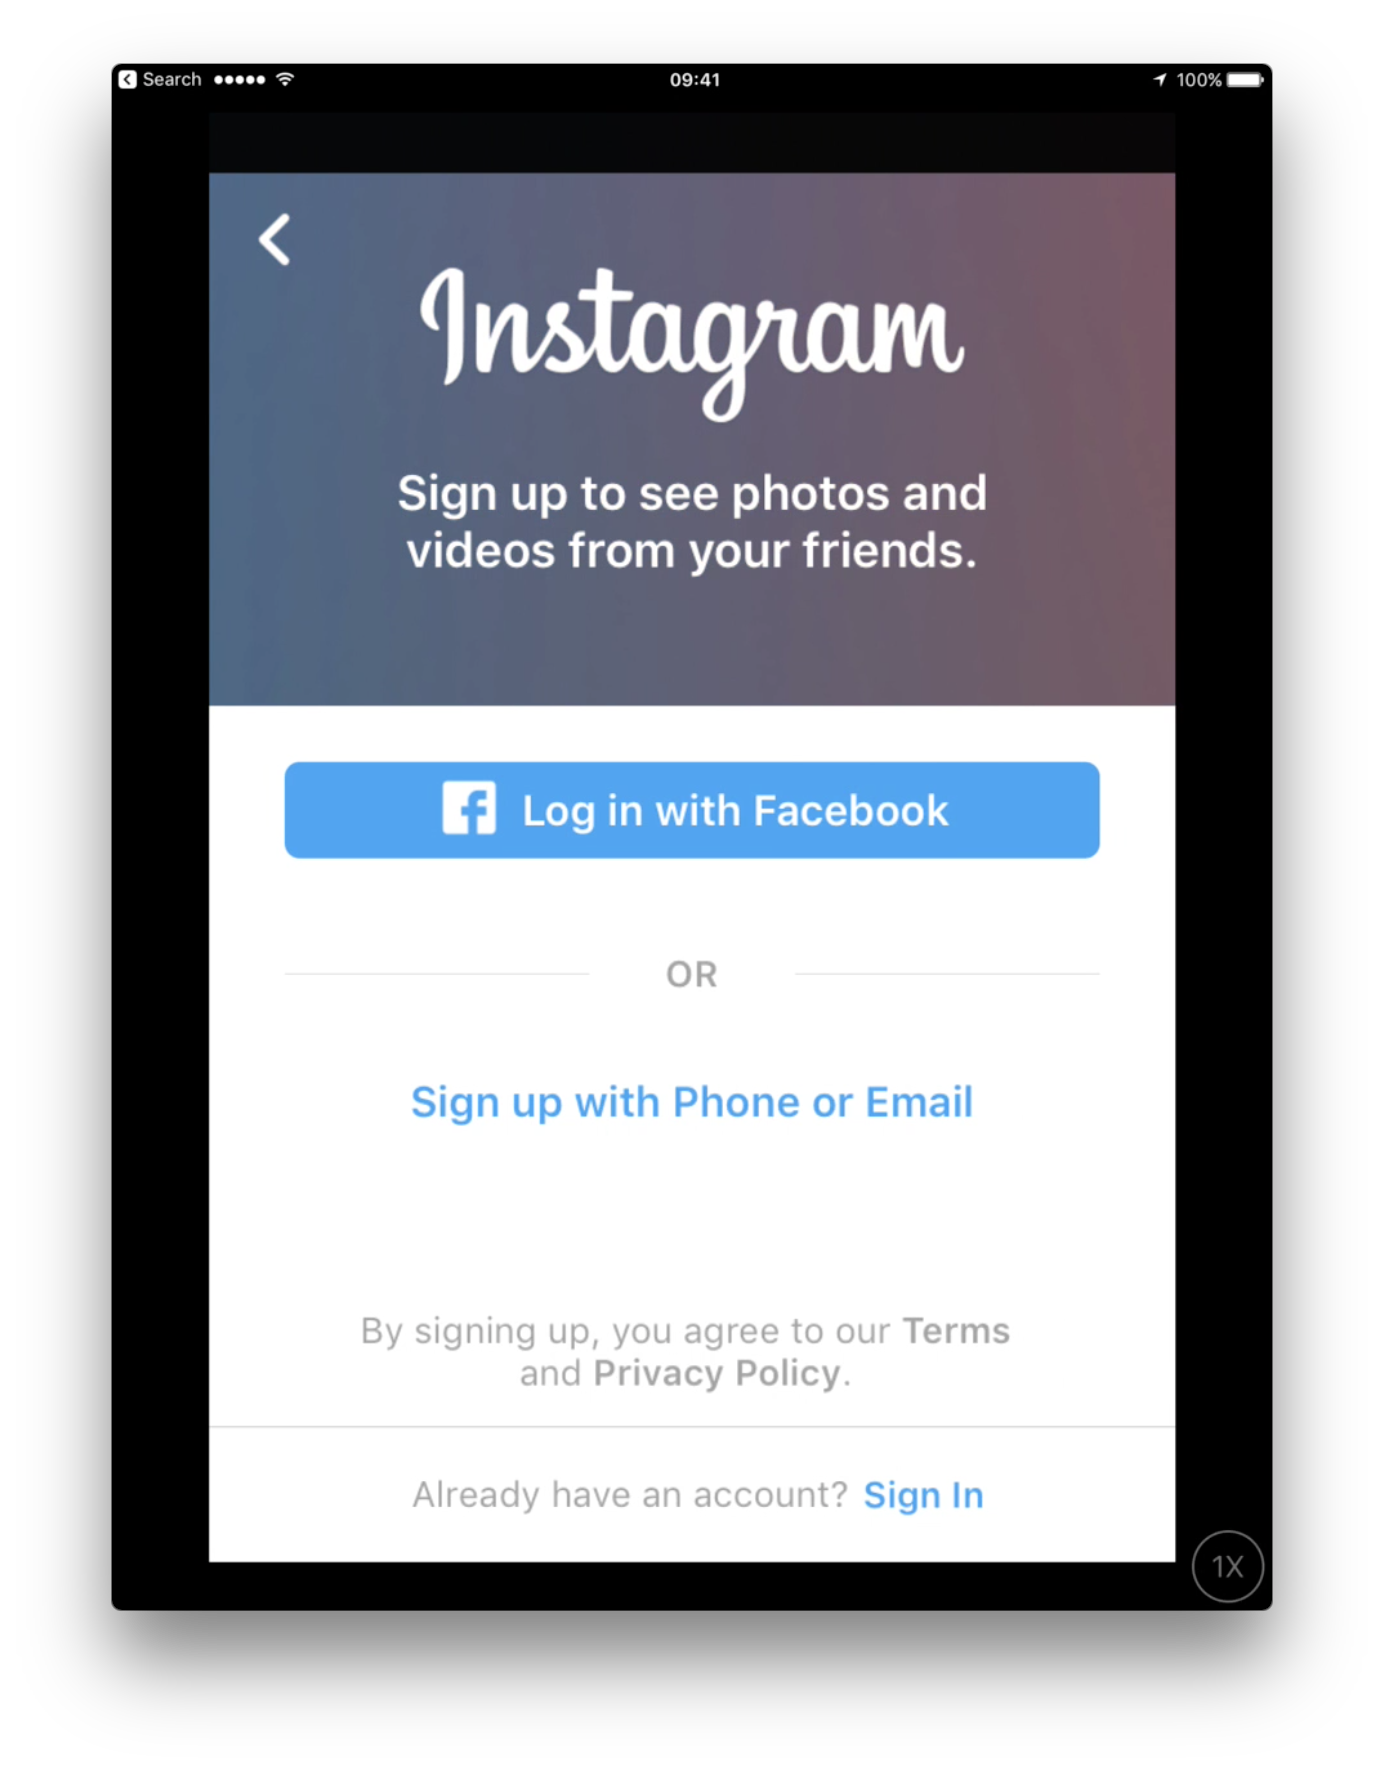
Now you will need an account for Instagram. You can use your Facebook account details (if you already have a Facebook account) or you can create a new account. Here we will go through setting up a new account using Email. Tap on “Sign up with Phone or Email”:
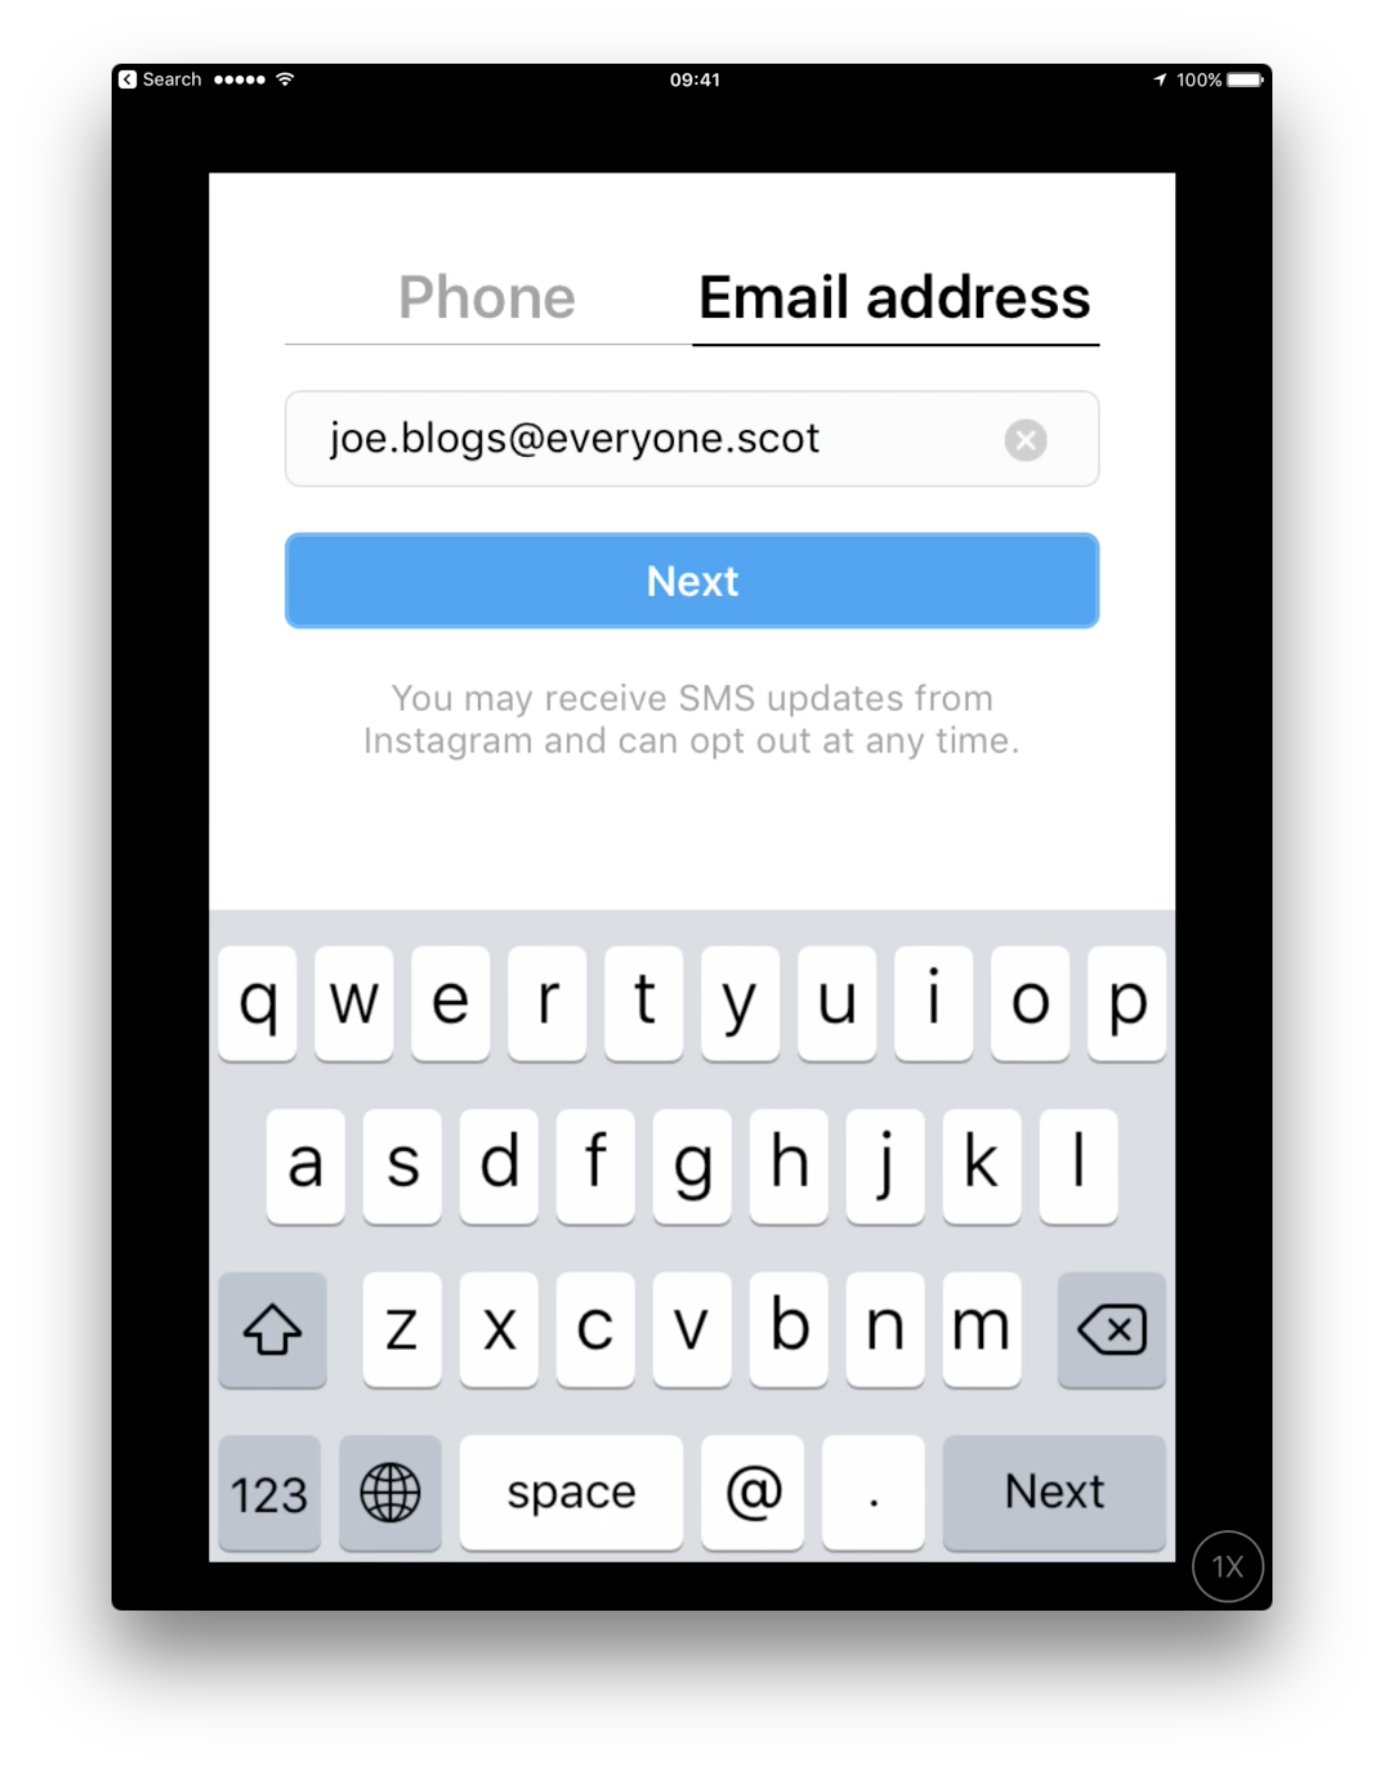
Choose the “Email address” tab at the top right and type in your email address.
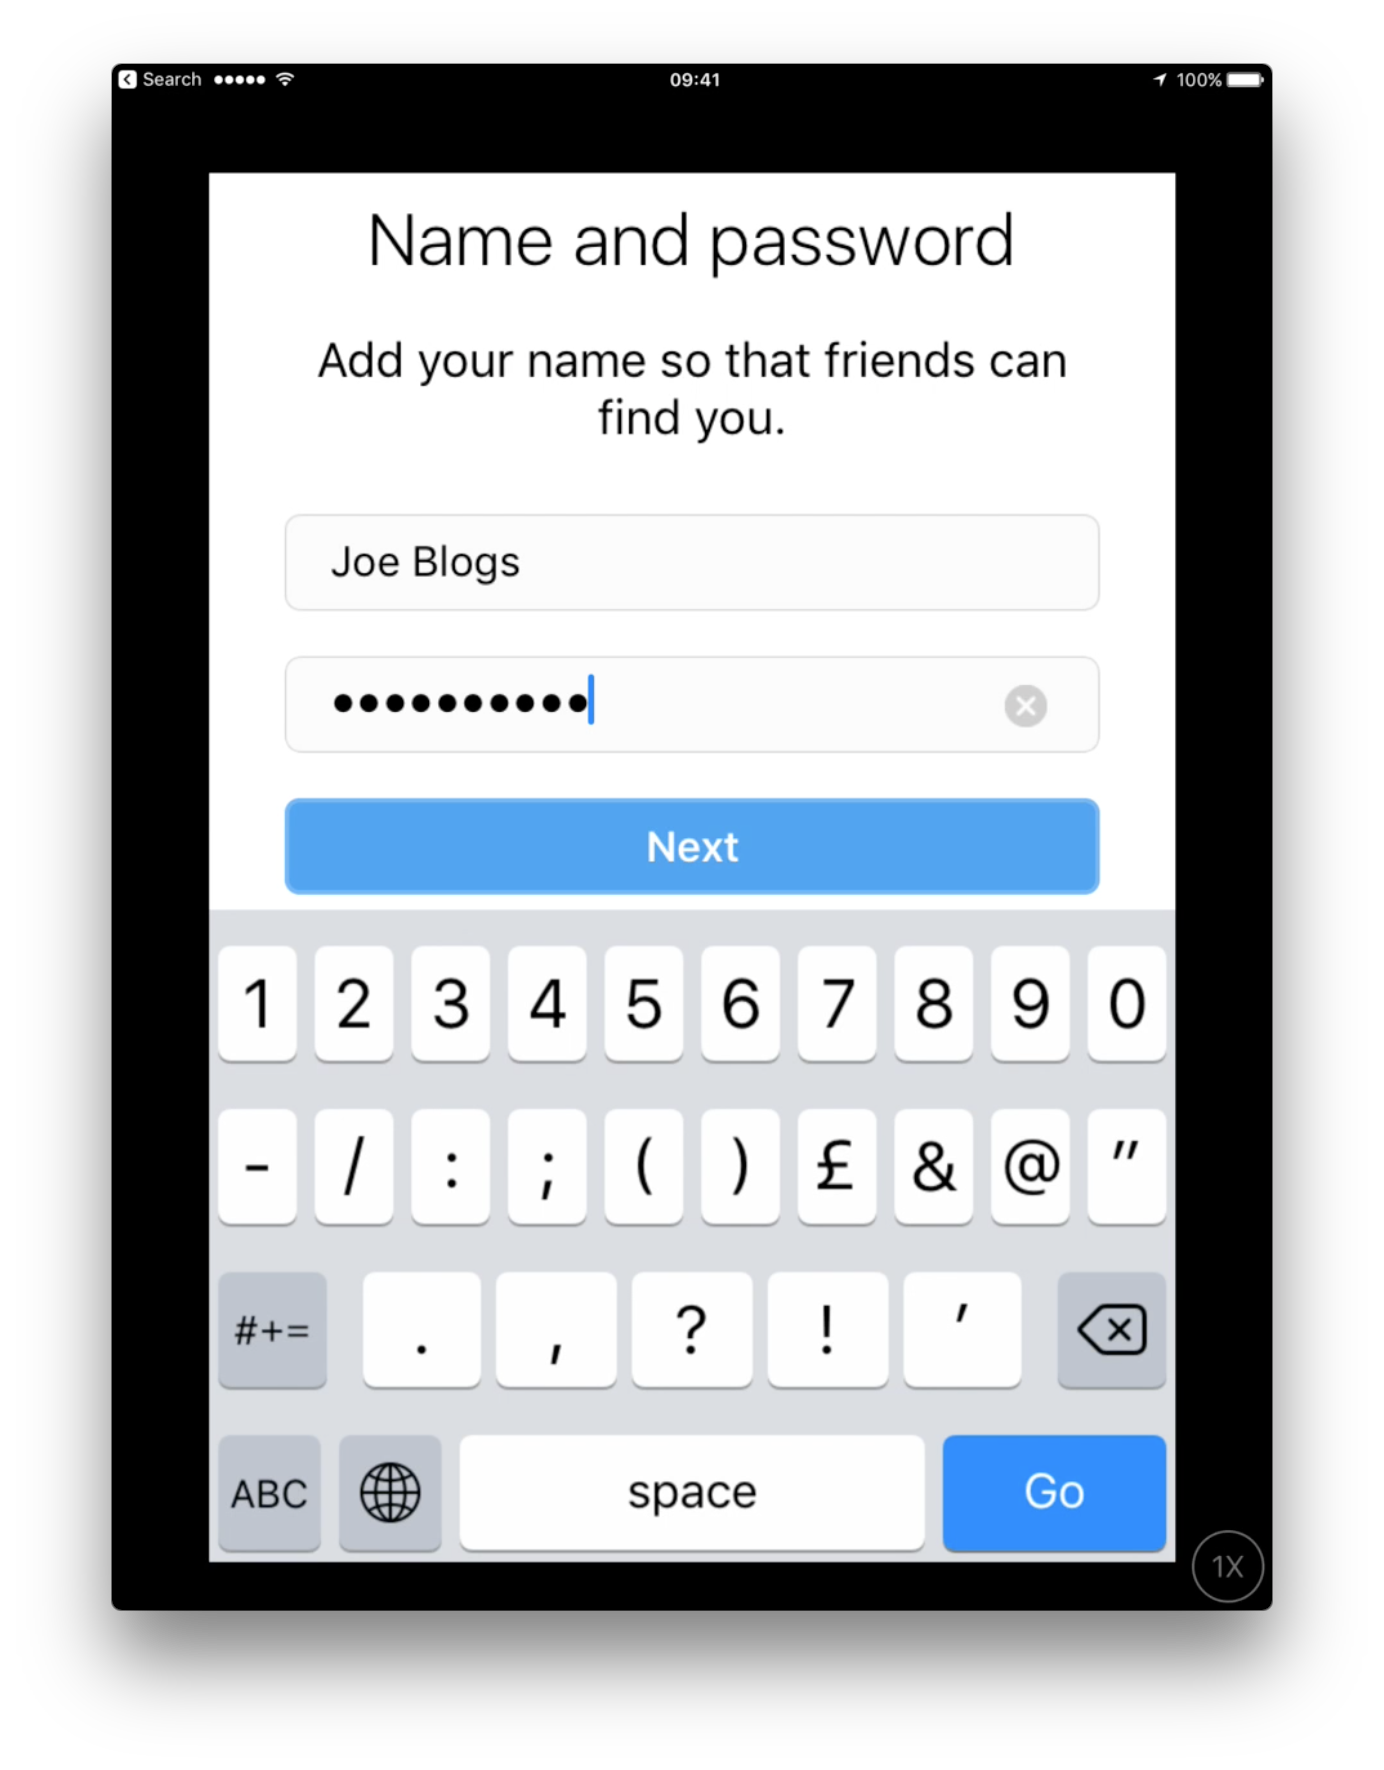
Tap next and fill in your name and choose a password (take a note of the password so you don’t forget it. Don’t panic if you do forget it. You can always reset it via your email.)
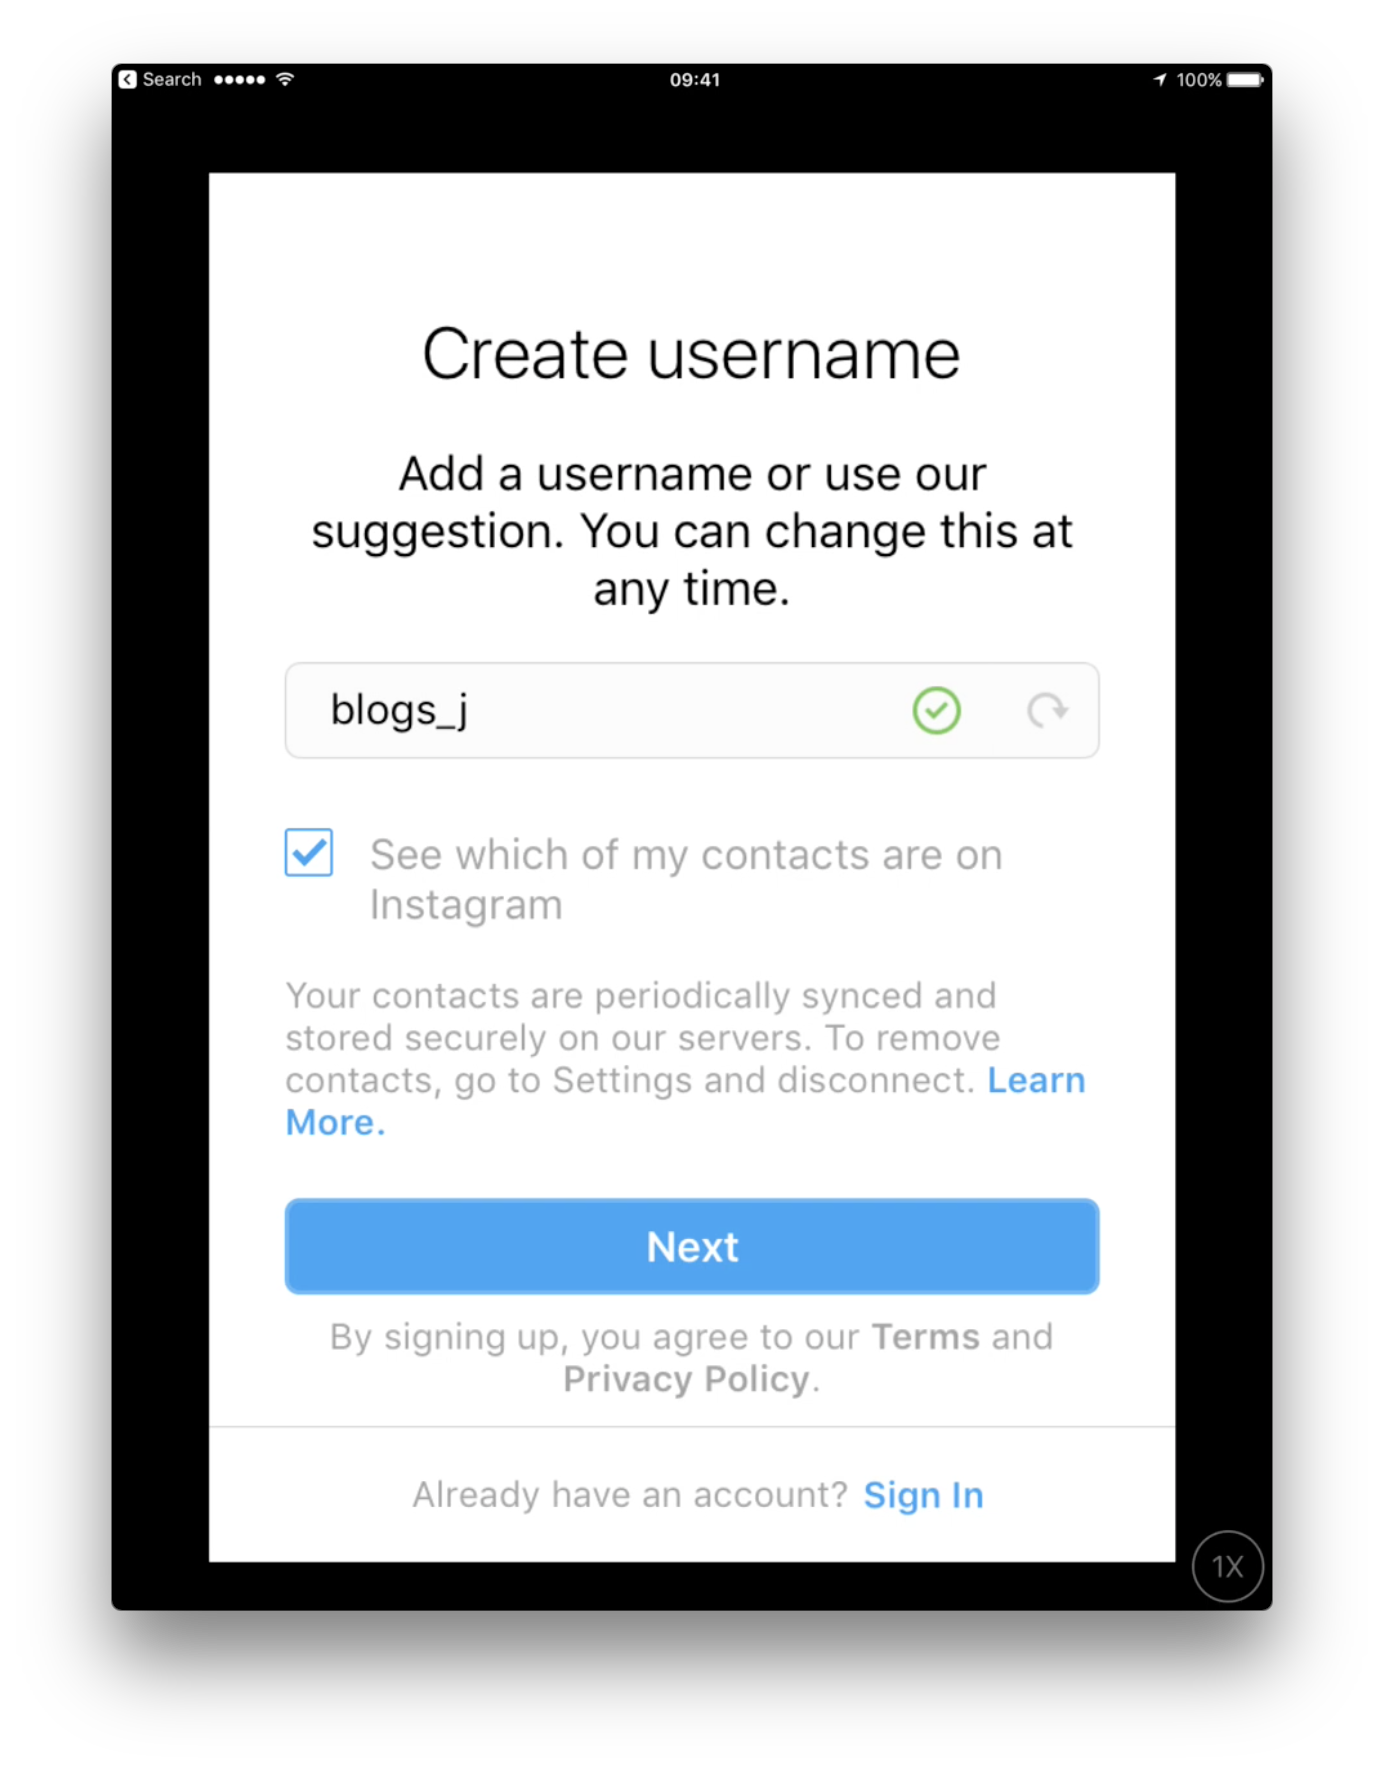
Now choose a username (Instagram will suggest one for you but you can change it now or later). You might want to un-tick the “See which one of my contacts are on Instagram” if you don’t want Instagram store your address book…
The app will ask you if you want to connect with your Facebook friends and if it can look through your address book but you can skip this step by tapping “Skip” at the bottom of the screen.
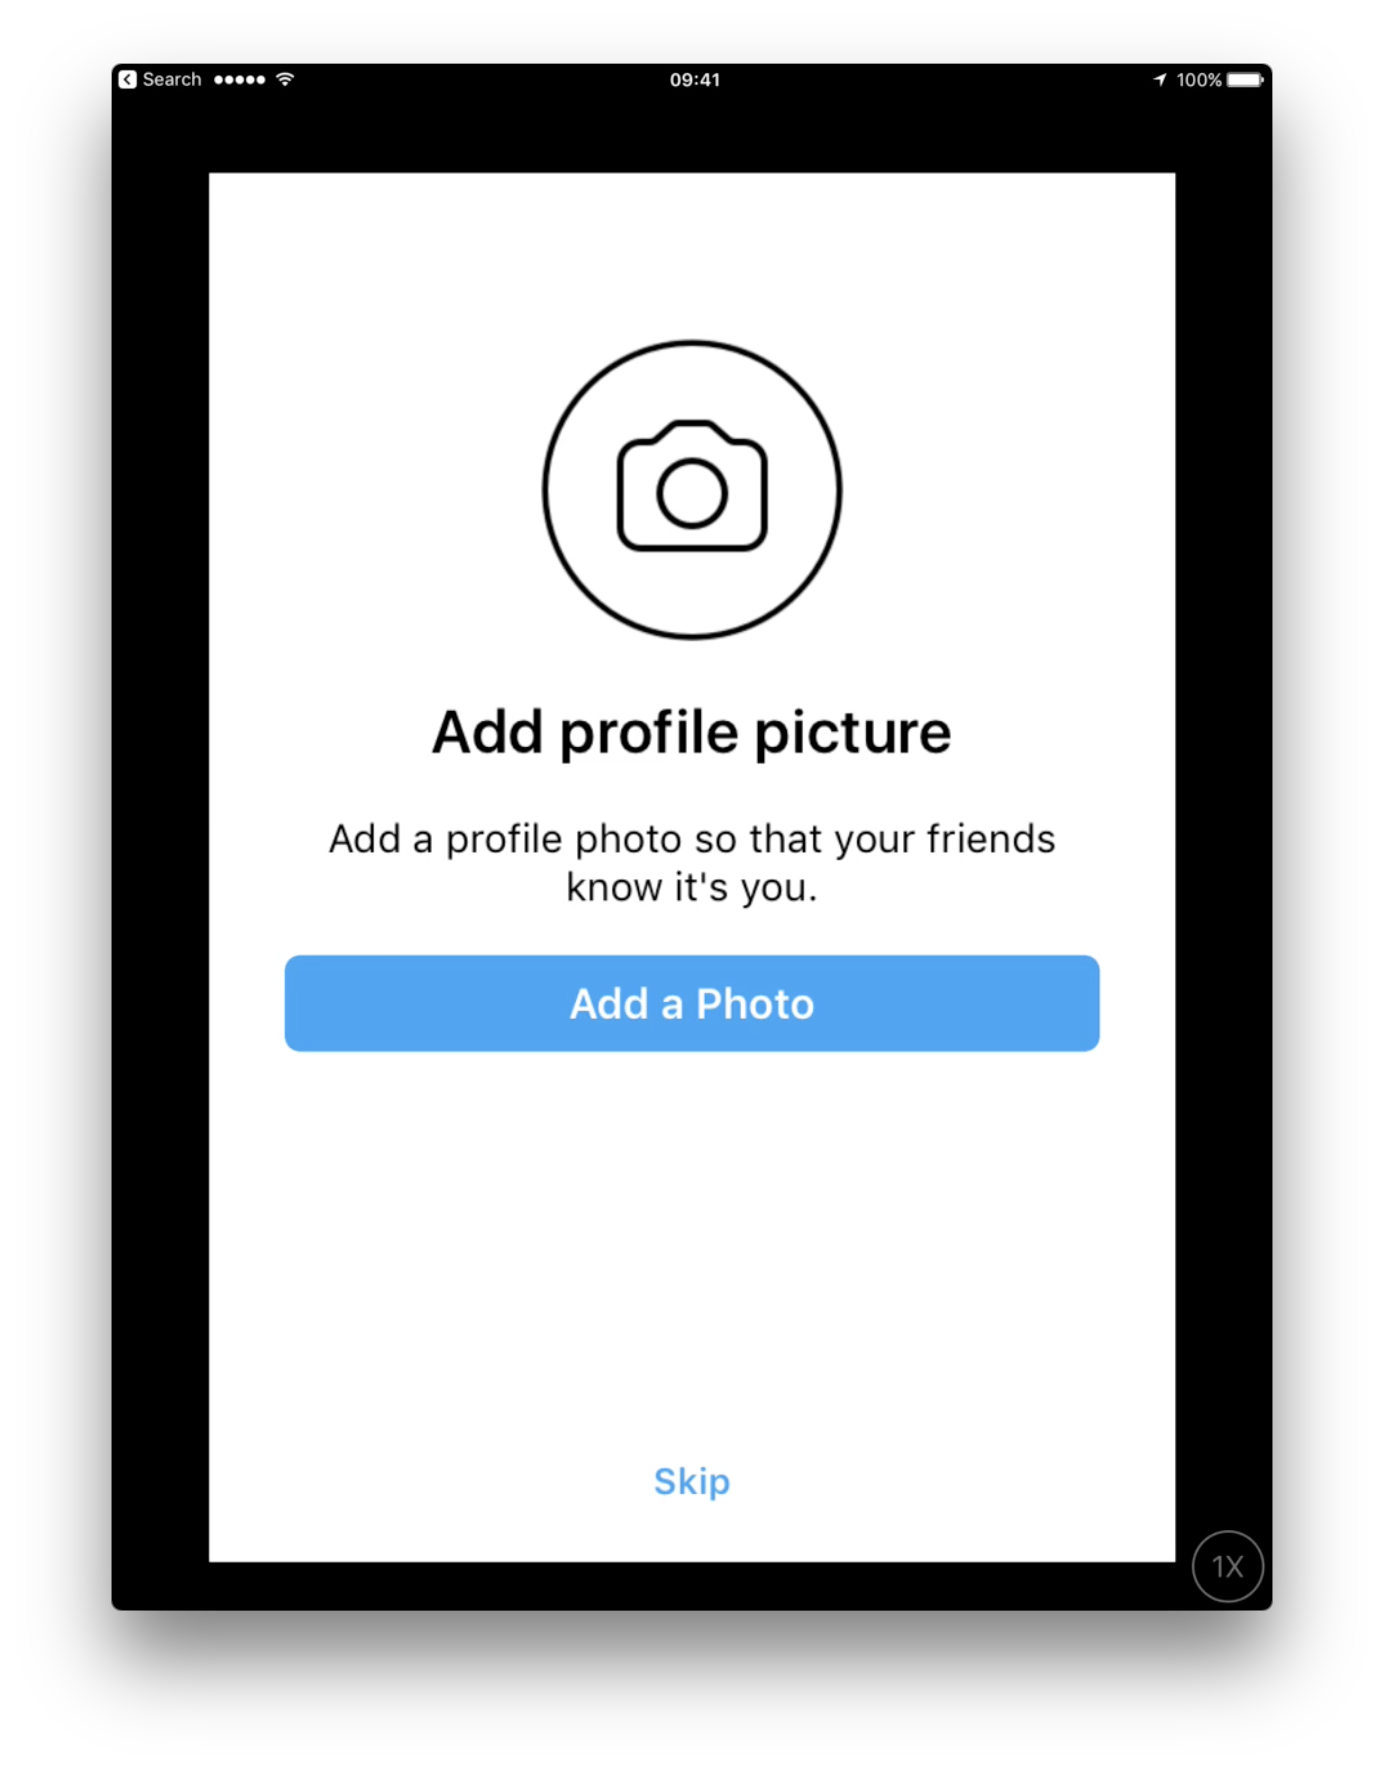
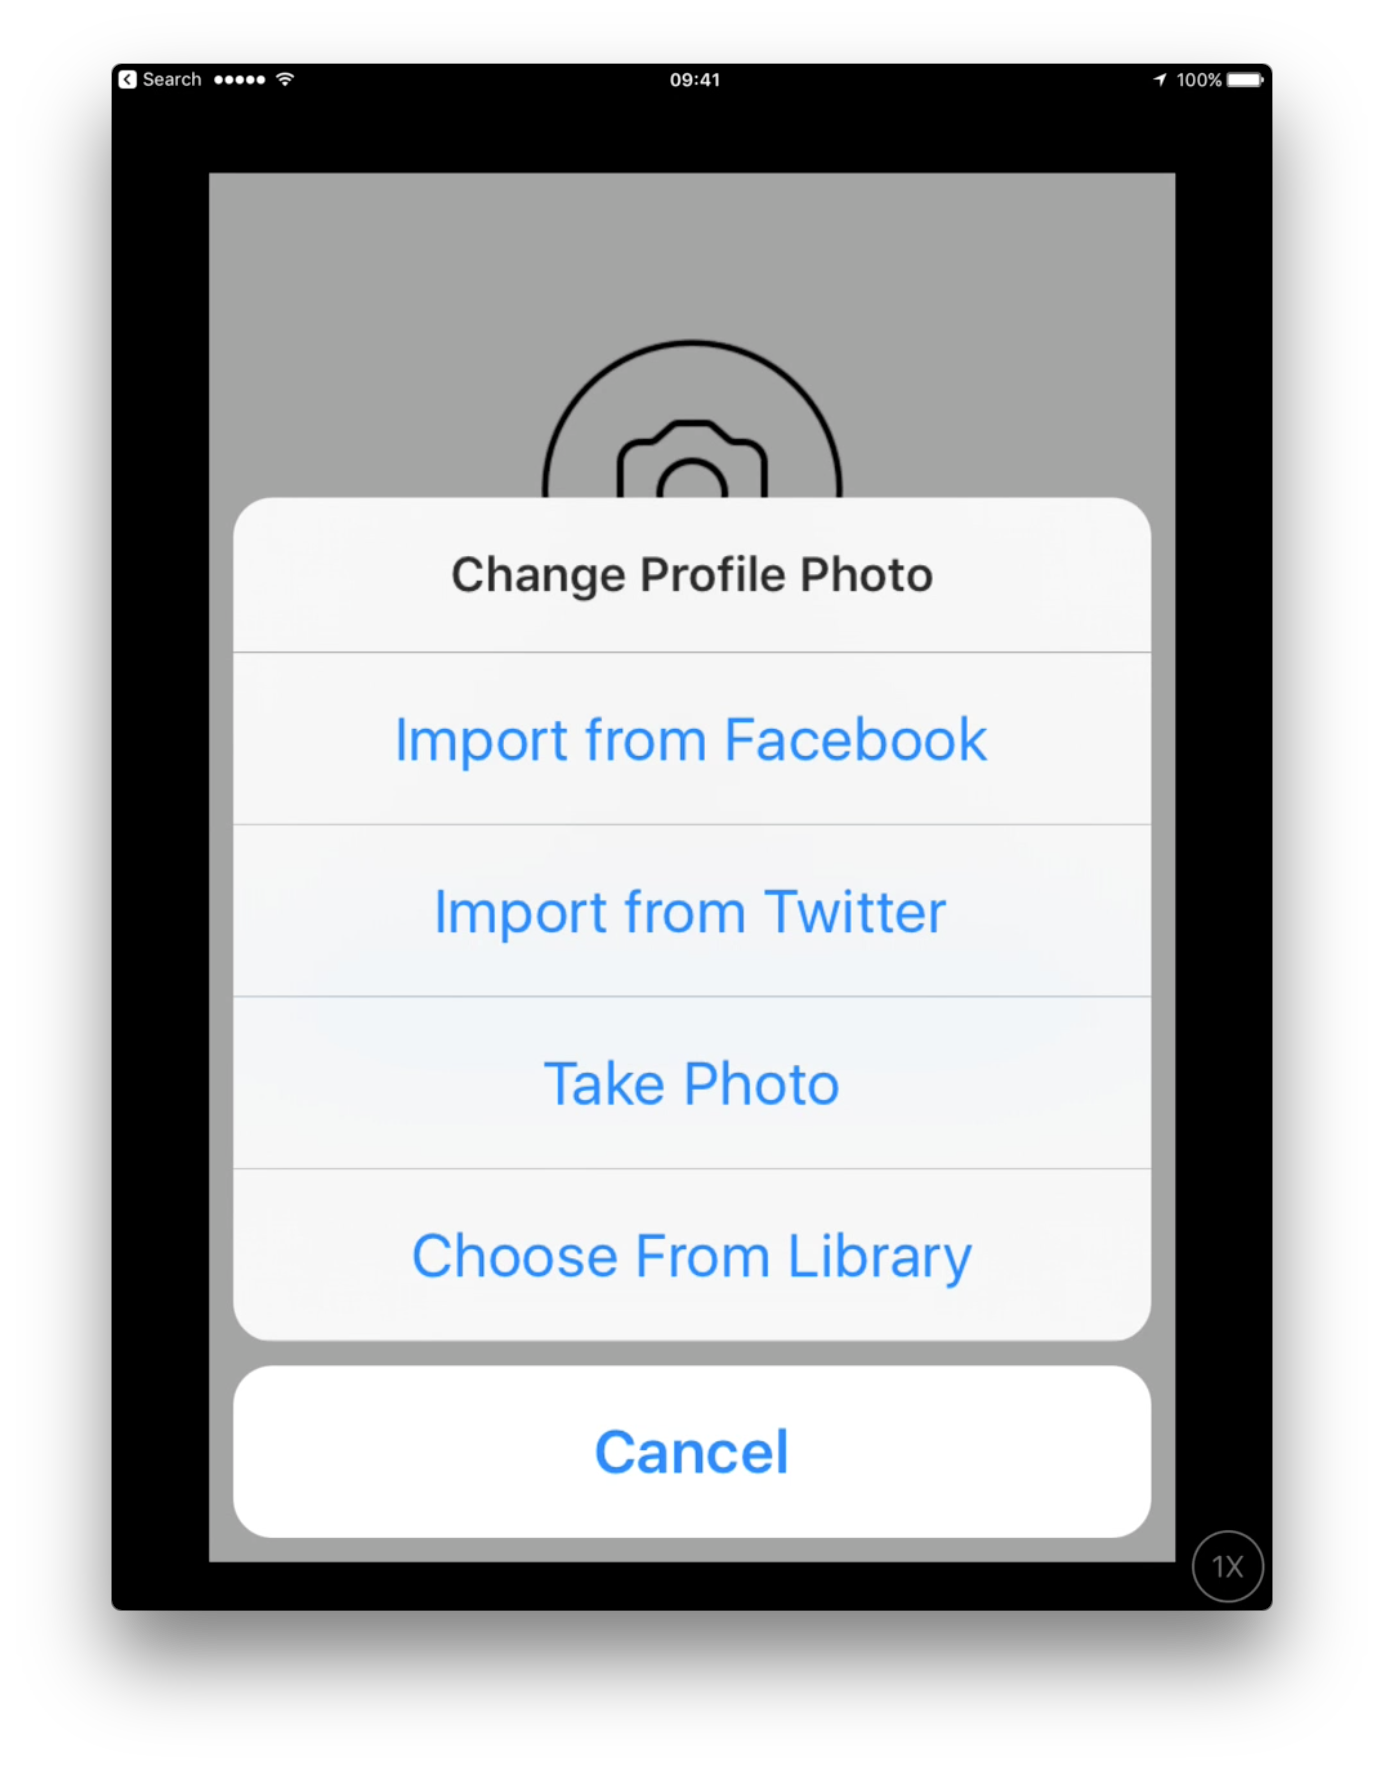
You can then add a profile photo. Tap “Add a Photo” to either take a selfie or choose from your one of your photo libraries.
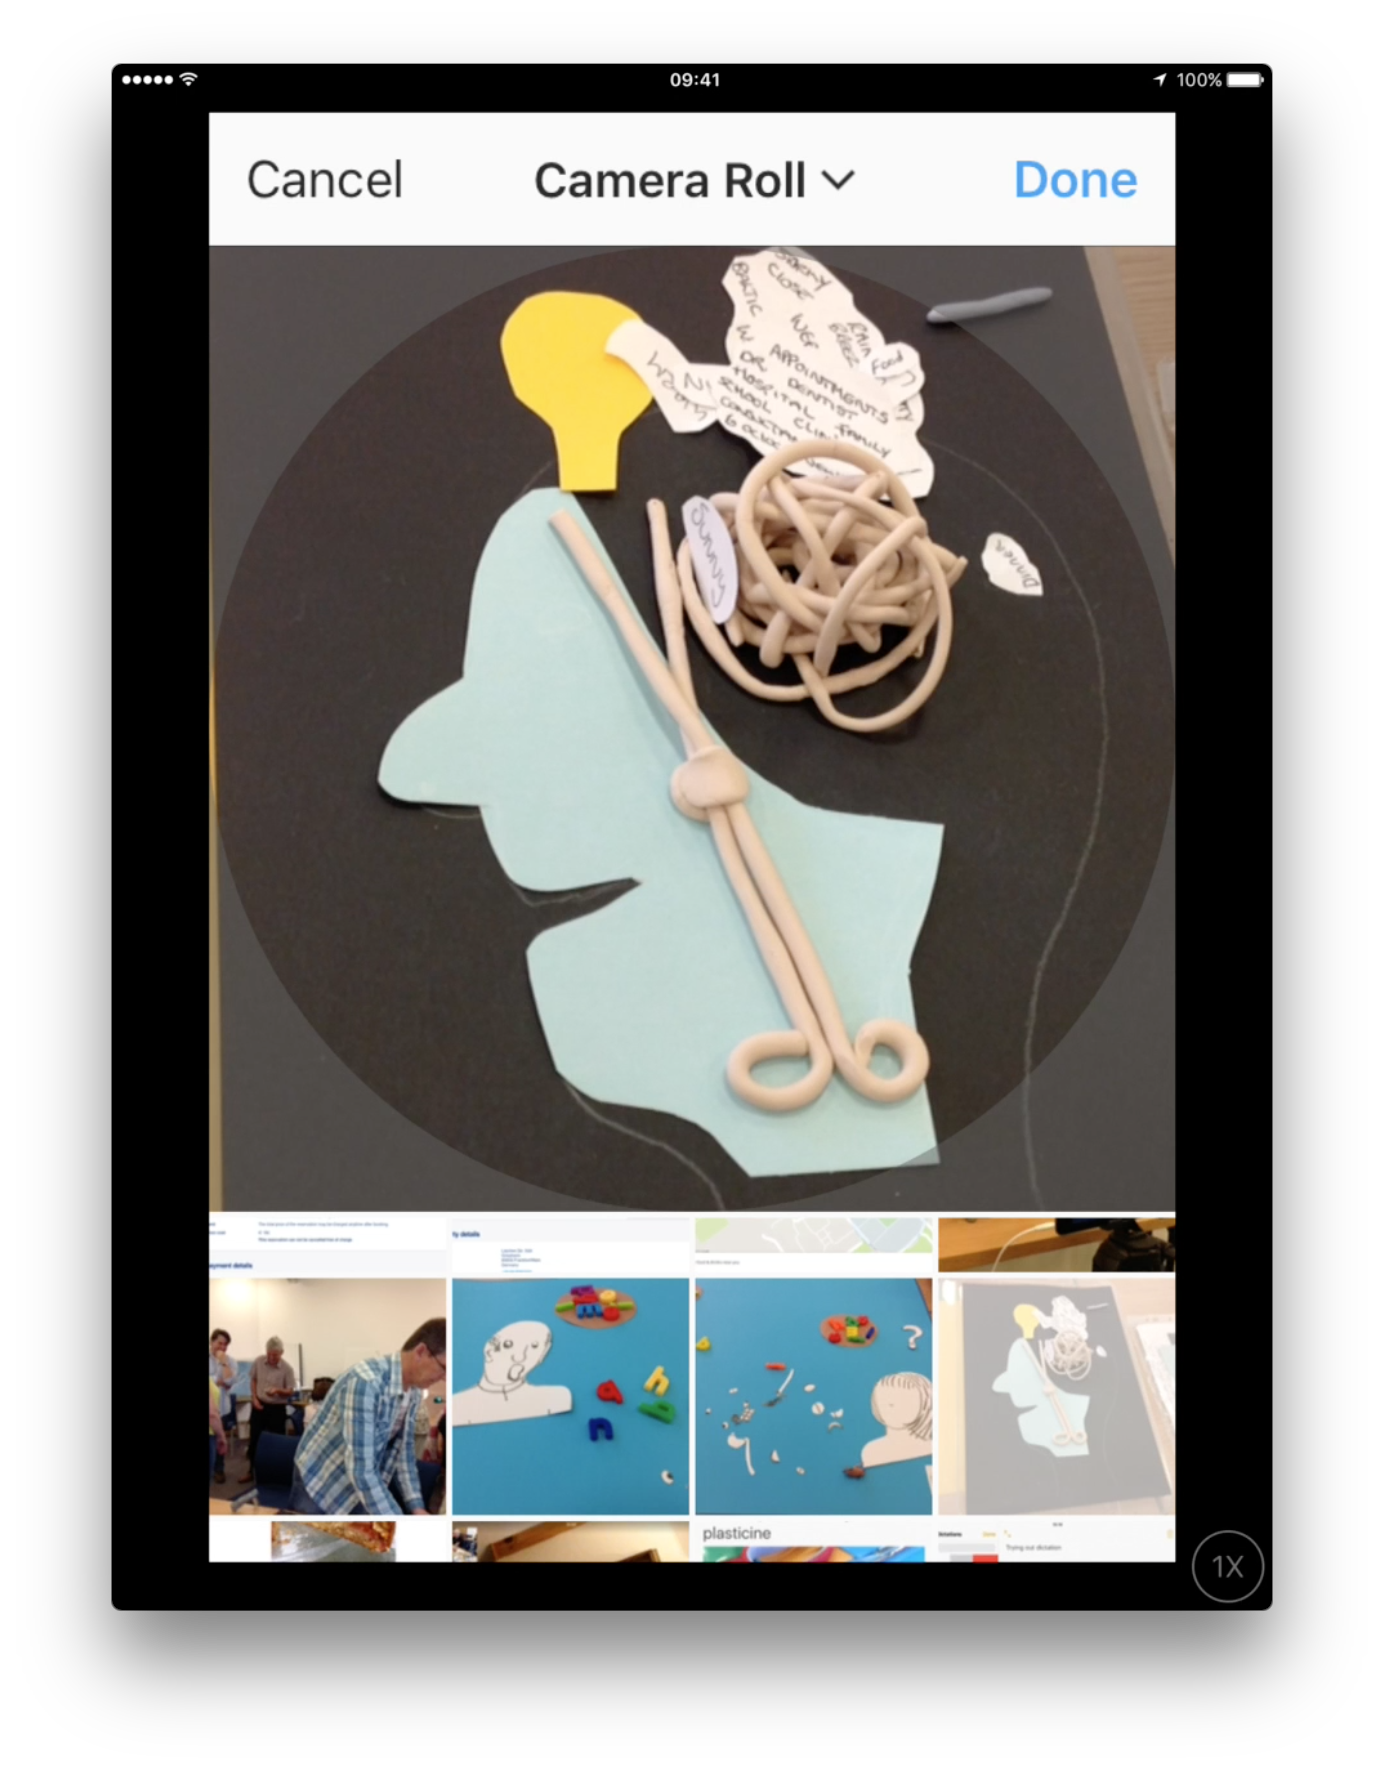
Let’s choose from the photos you have on your iPad already: Tap “Choose from Library”. You will need to give the app permission to access your photos. Please tap “allow” when asked.
Your photos appear in the bottom part of the screen, tap the one you want to use. Then tap “Done”.
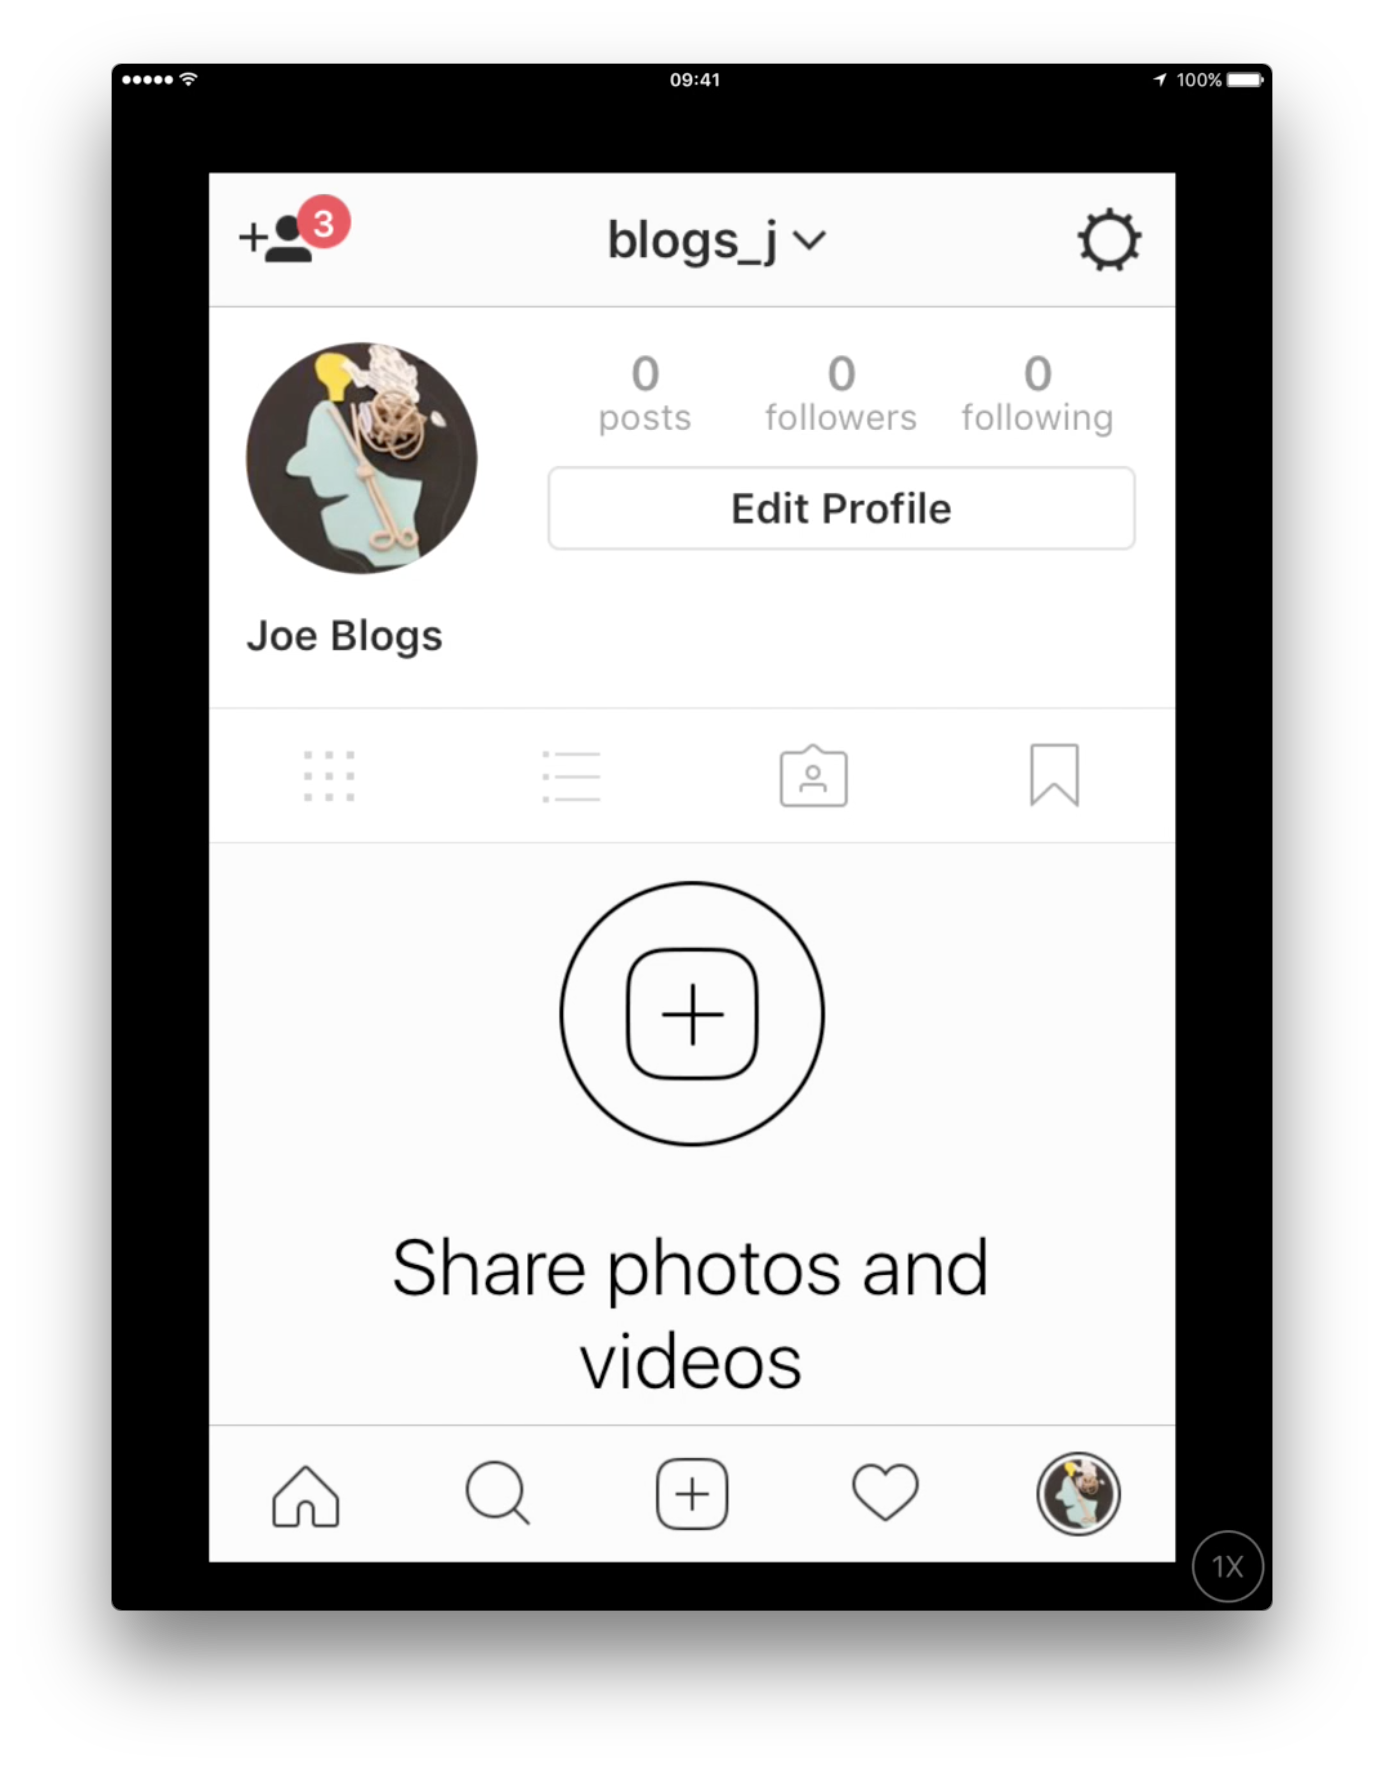
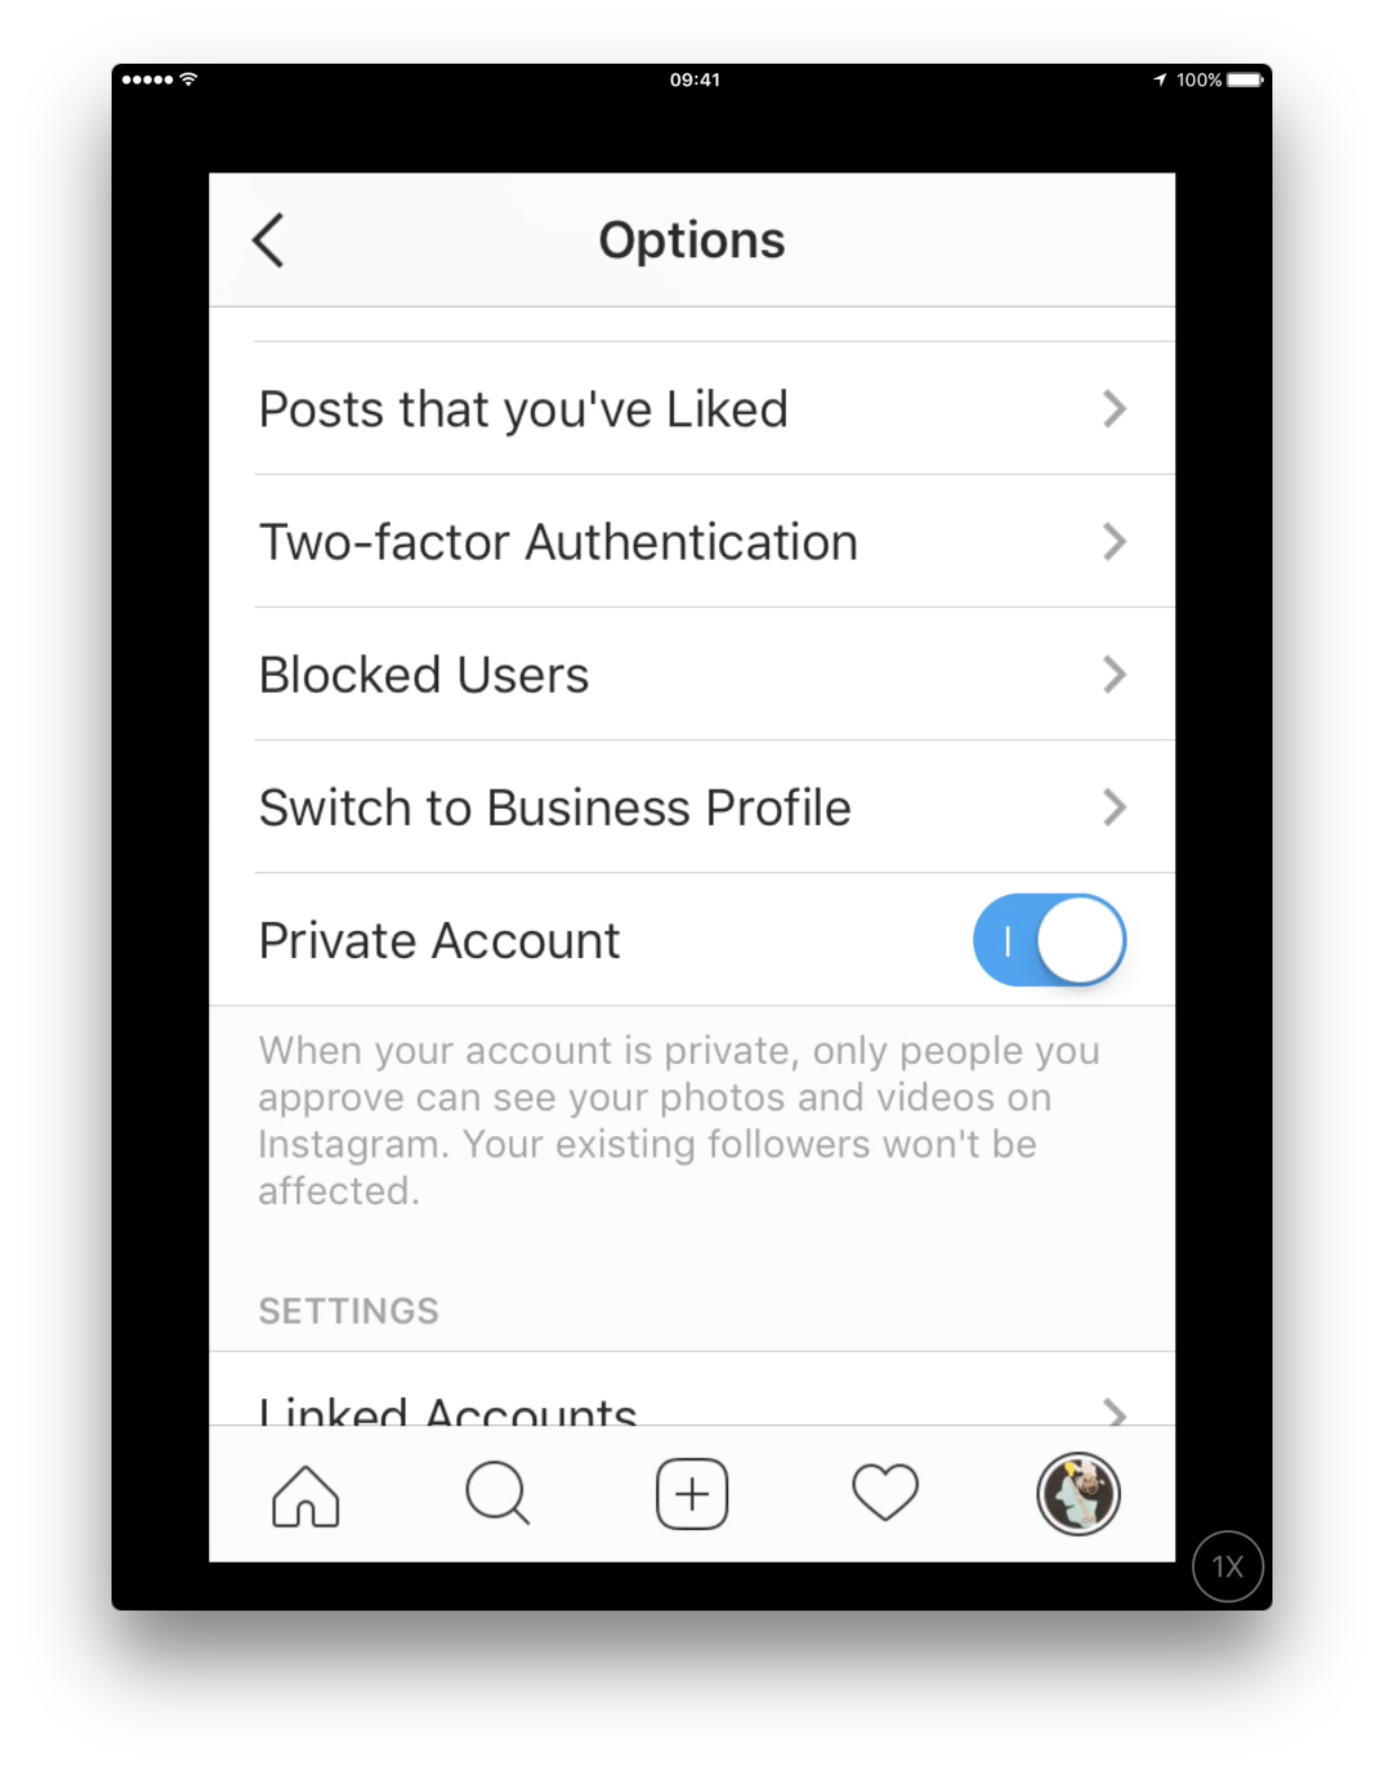
If you only want to share photos with some people you need to make your account private. Tap on the wee profile image at the bottom right of the screen and then tap the wee cog at the top right of the screen to access the Options:
Scroll down until you see “Private Account” and tap the slider to activate.
You’re all set!
Taking photos and sharing them
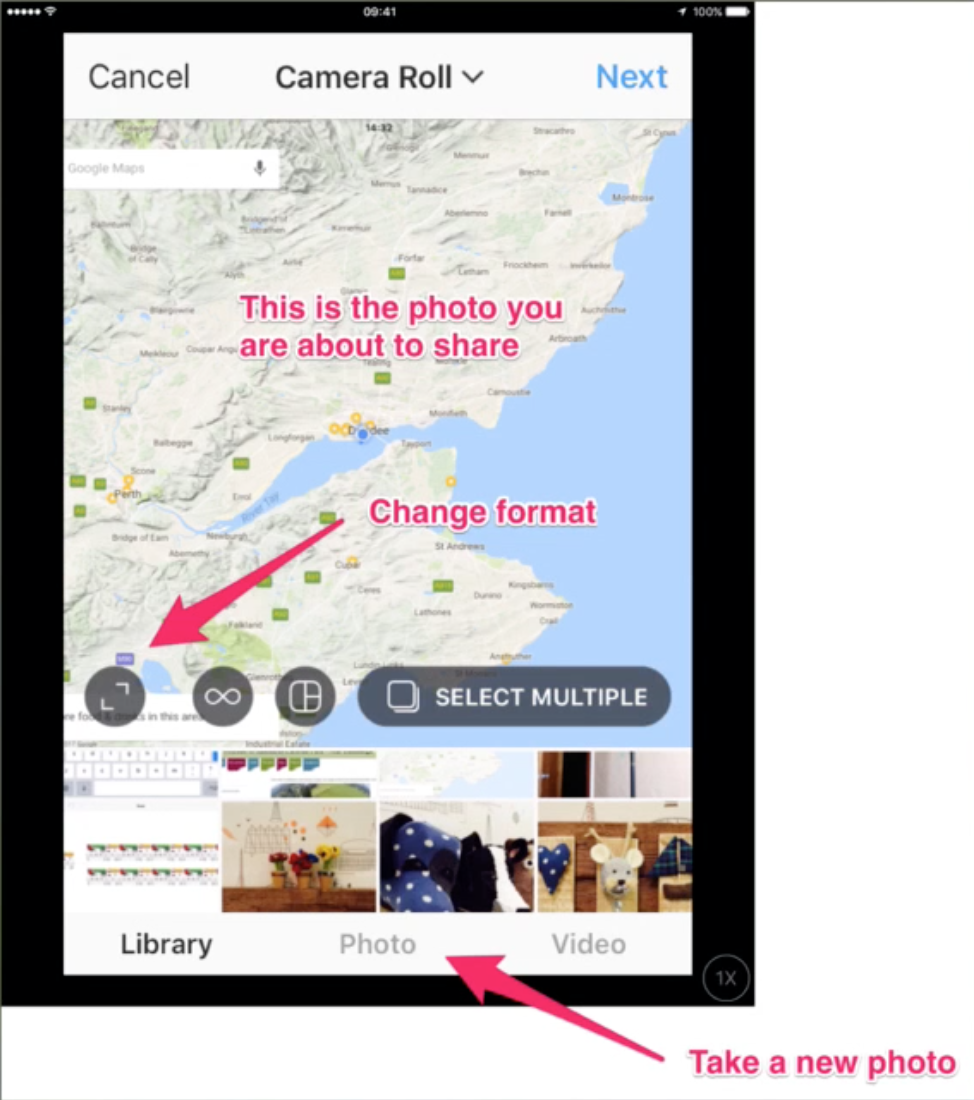
Tap the wee + at the bottom of the screen to share a photo. You will see a similar screen to when you selected your profile picture. You see the photo you are about to share in the top half of the screen. But you can always choose a different one or take a new photo. Once you are done, tap “Next”.
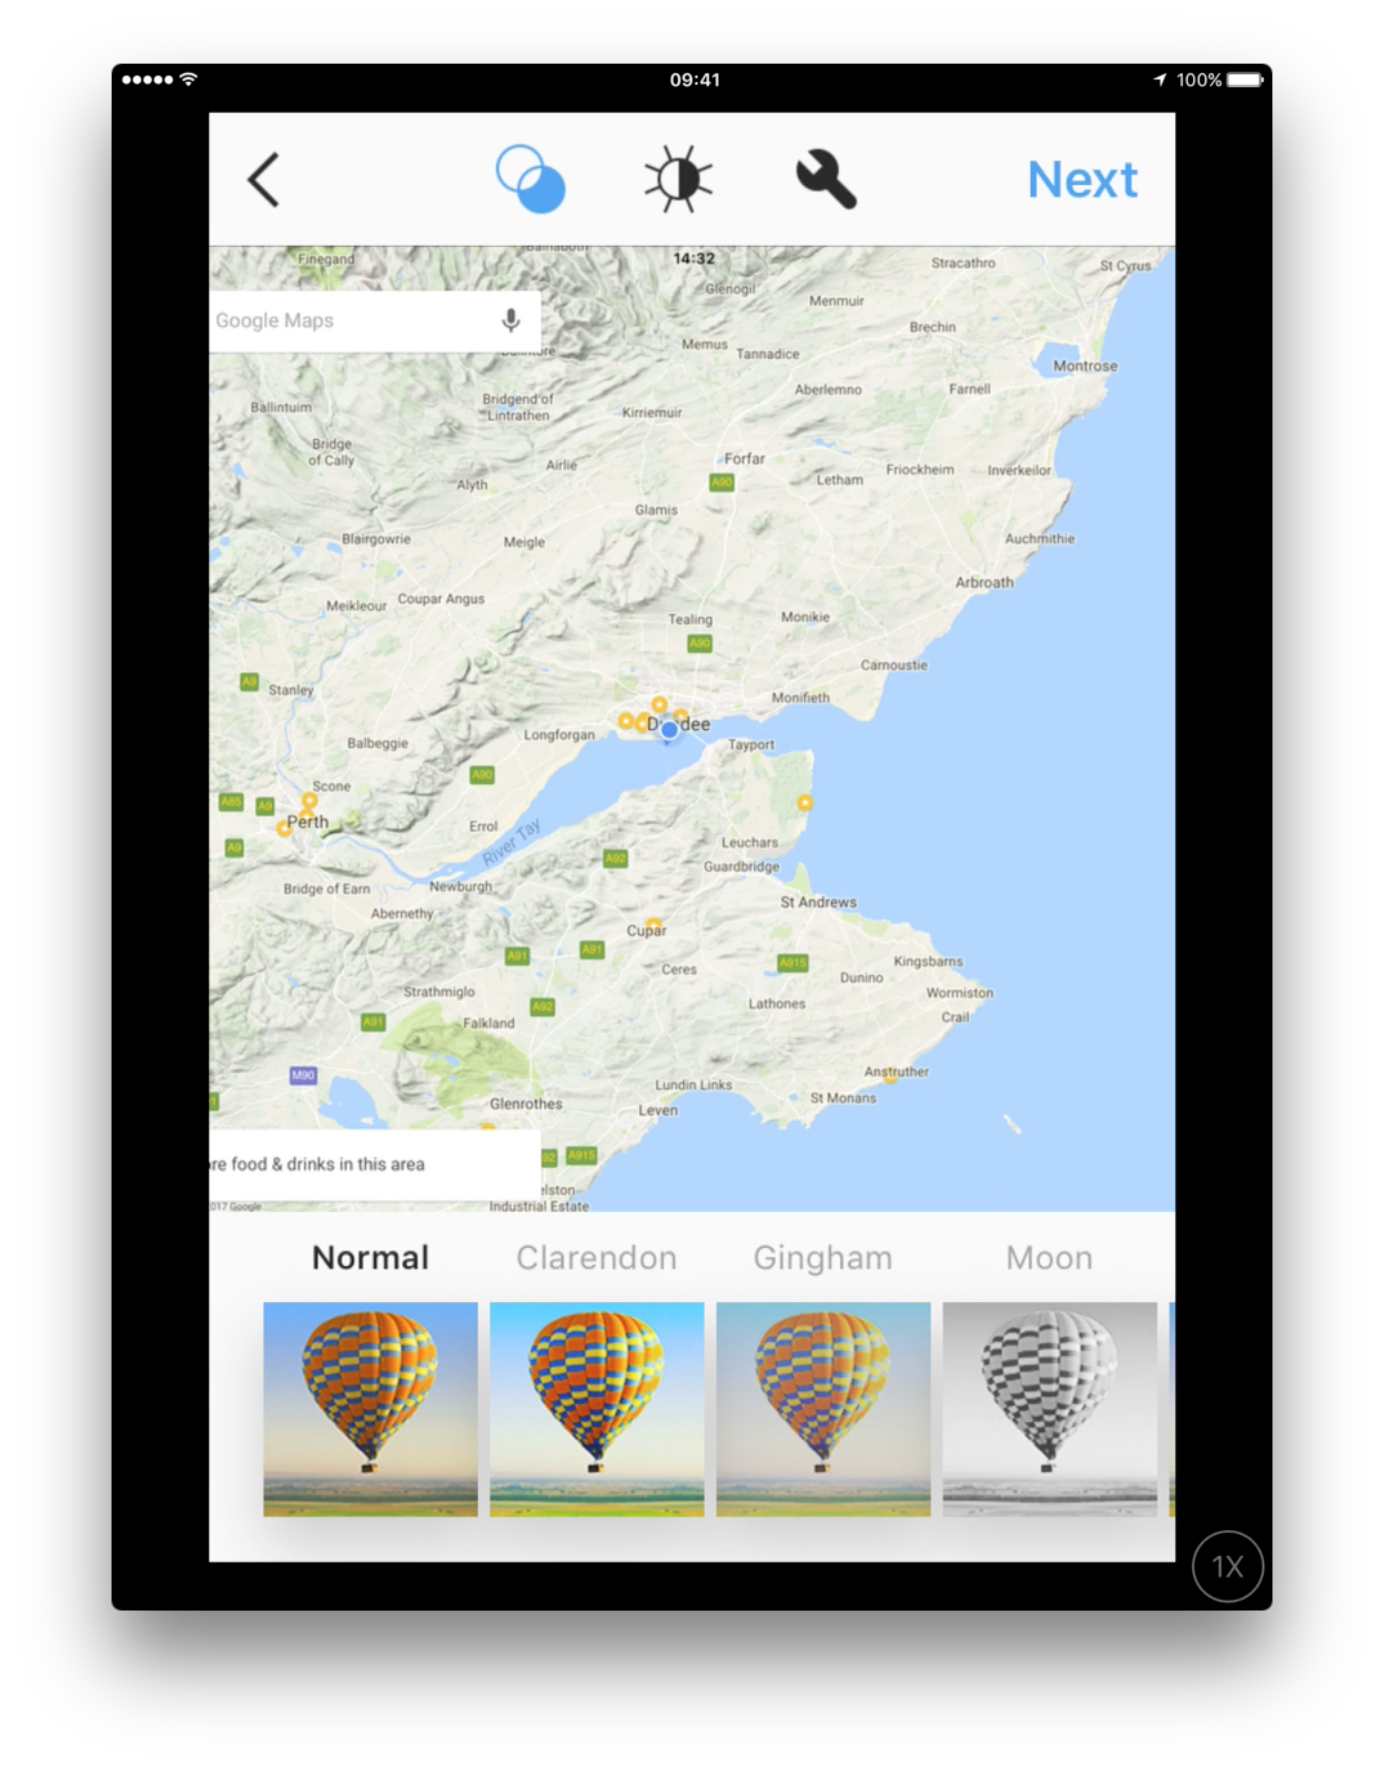
You can now make the photo look “better” by applying special filters if you want. Or just use it as it is and tap “Next”.
You can now add some text (Tap: “Write a caption…” next to the photo). You can also do more advanced things such as tagging people (telling others and them that they are in the photo), add a location so people know where the photo was taken or additionally share on other social media (Facebook and others).
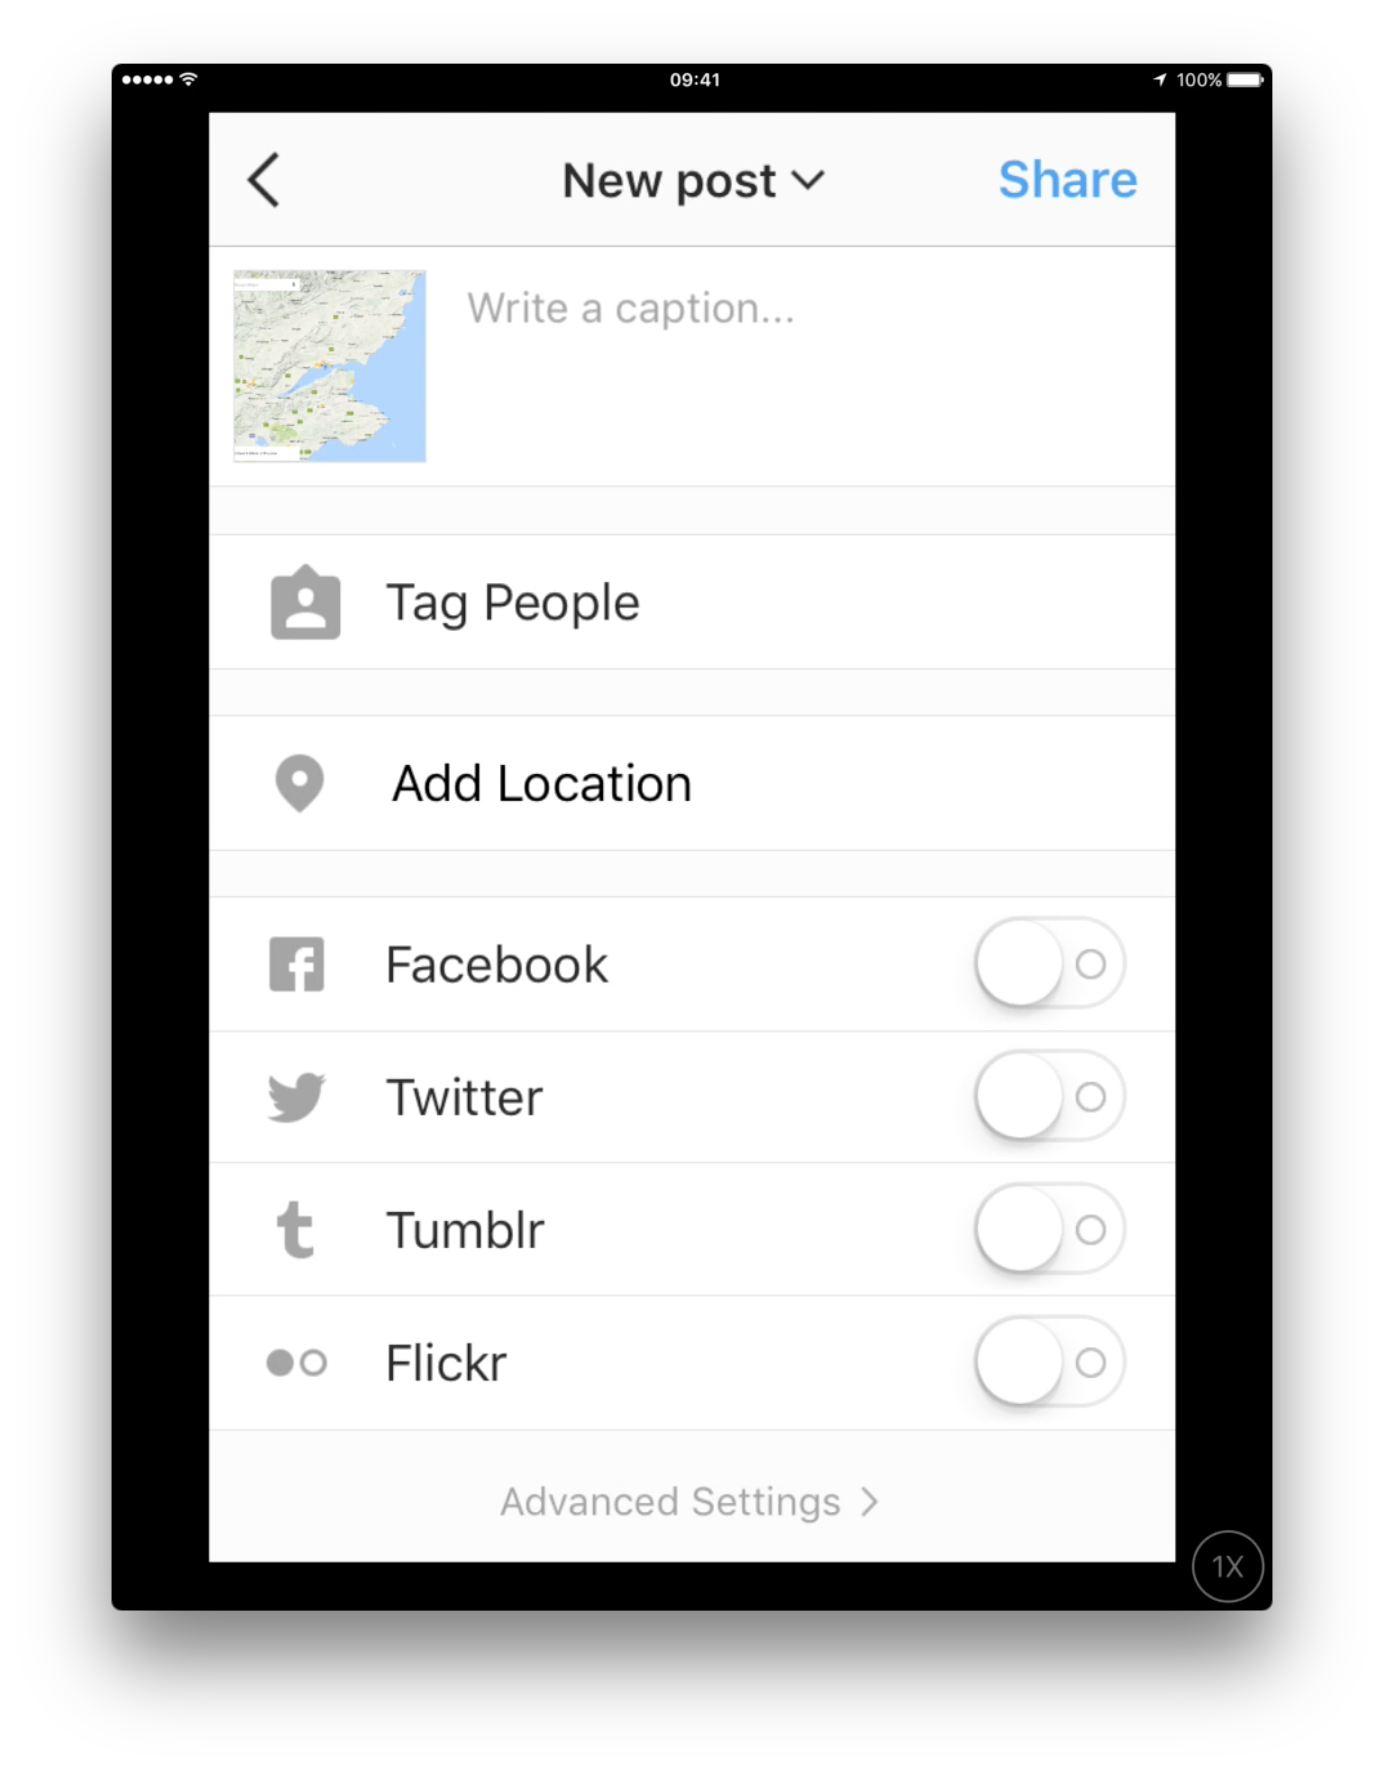 For the moment just tap “Share” at the top right of the screen. Since you made your account private, nobody will be able to see the photo yet. If people want to see your photos they will need to send you a request so you can allow them to see your photos.
Done! You have shared your first photo!
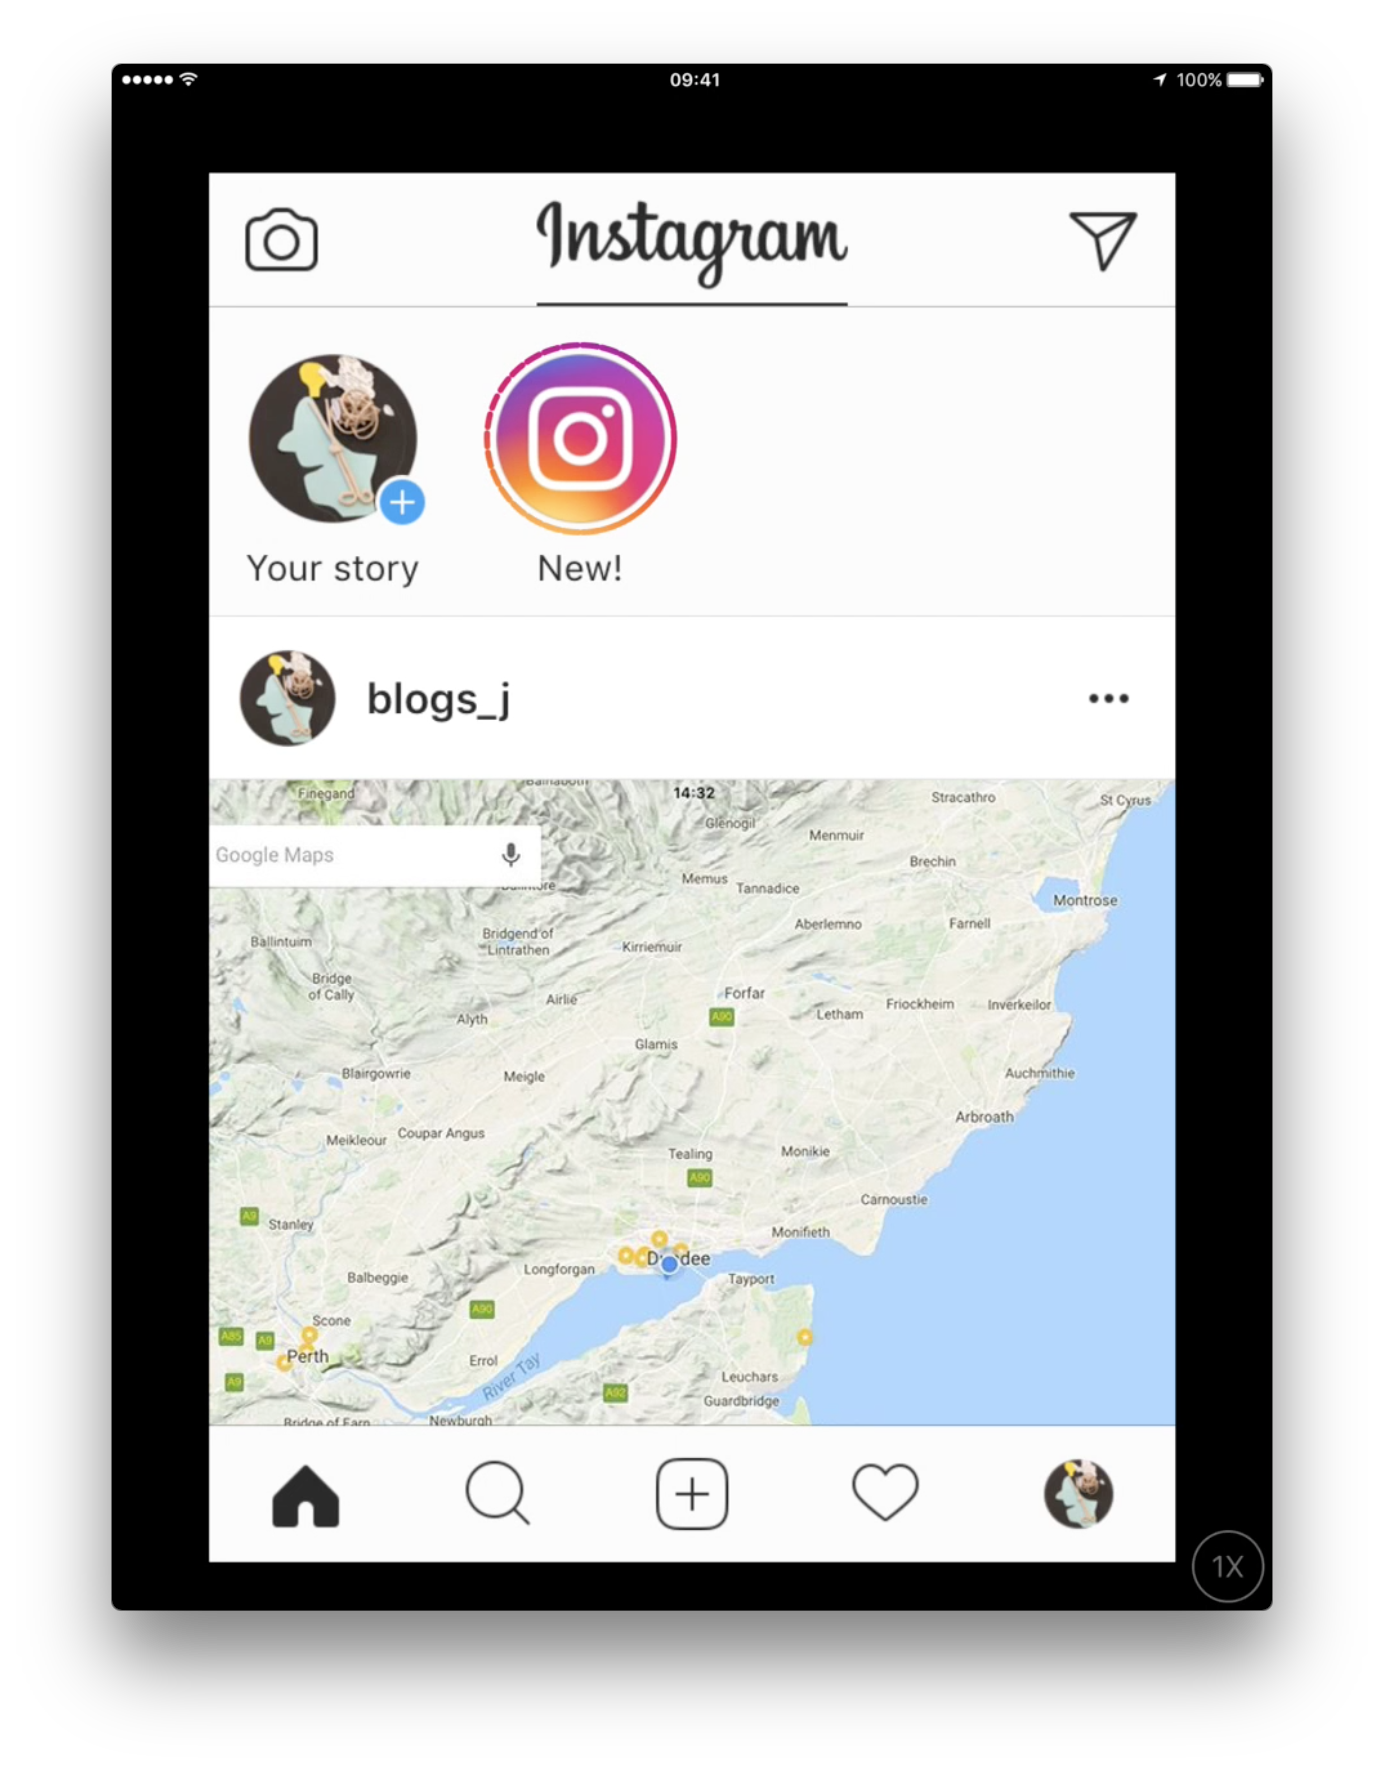
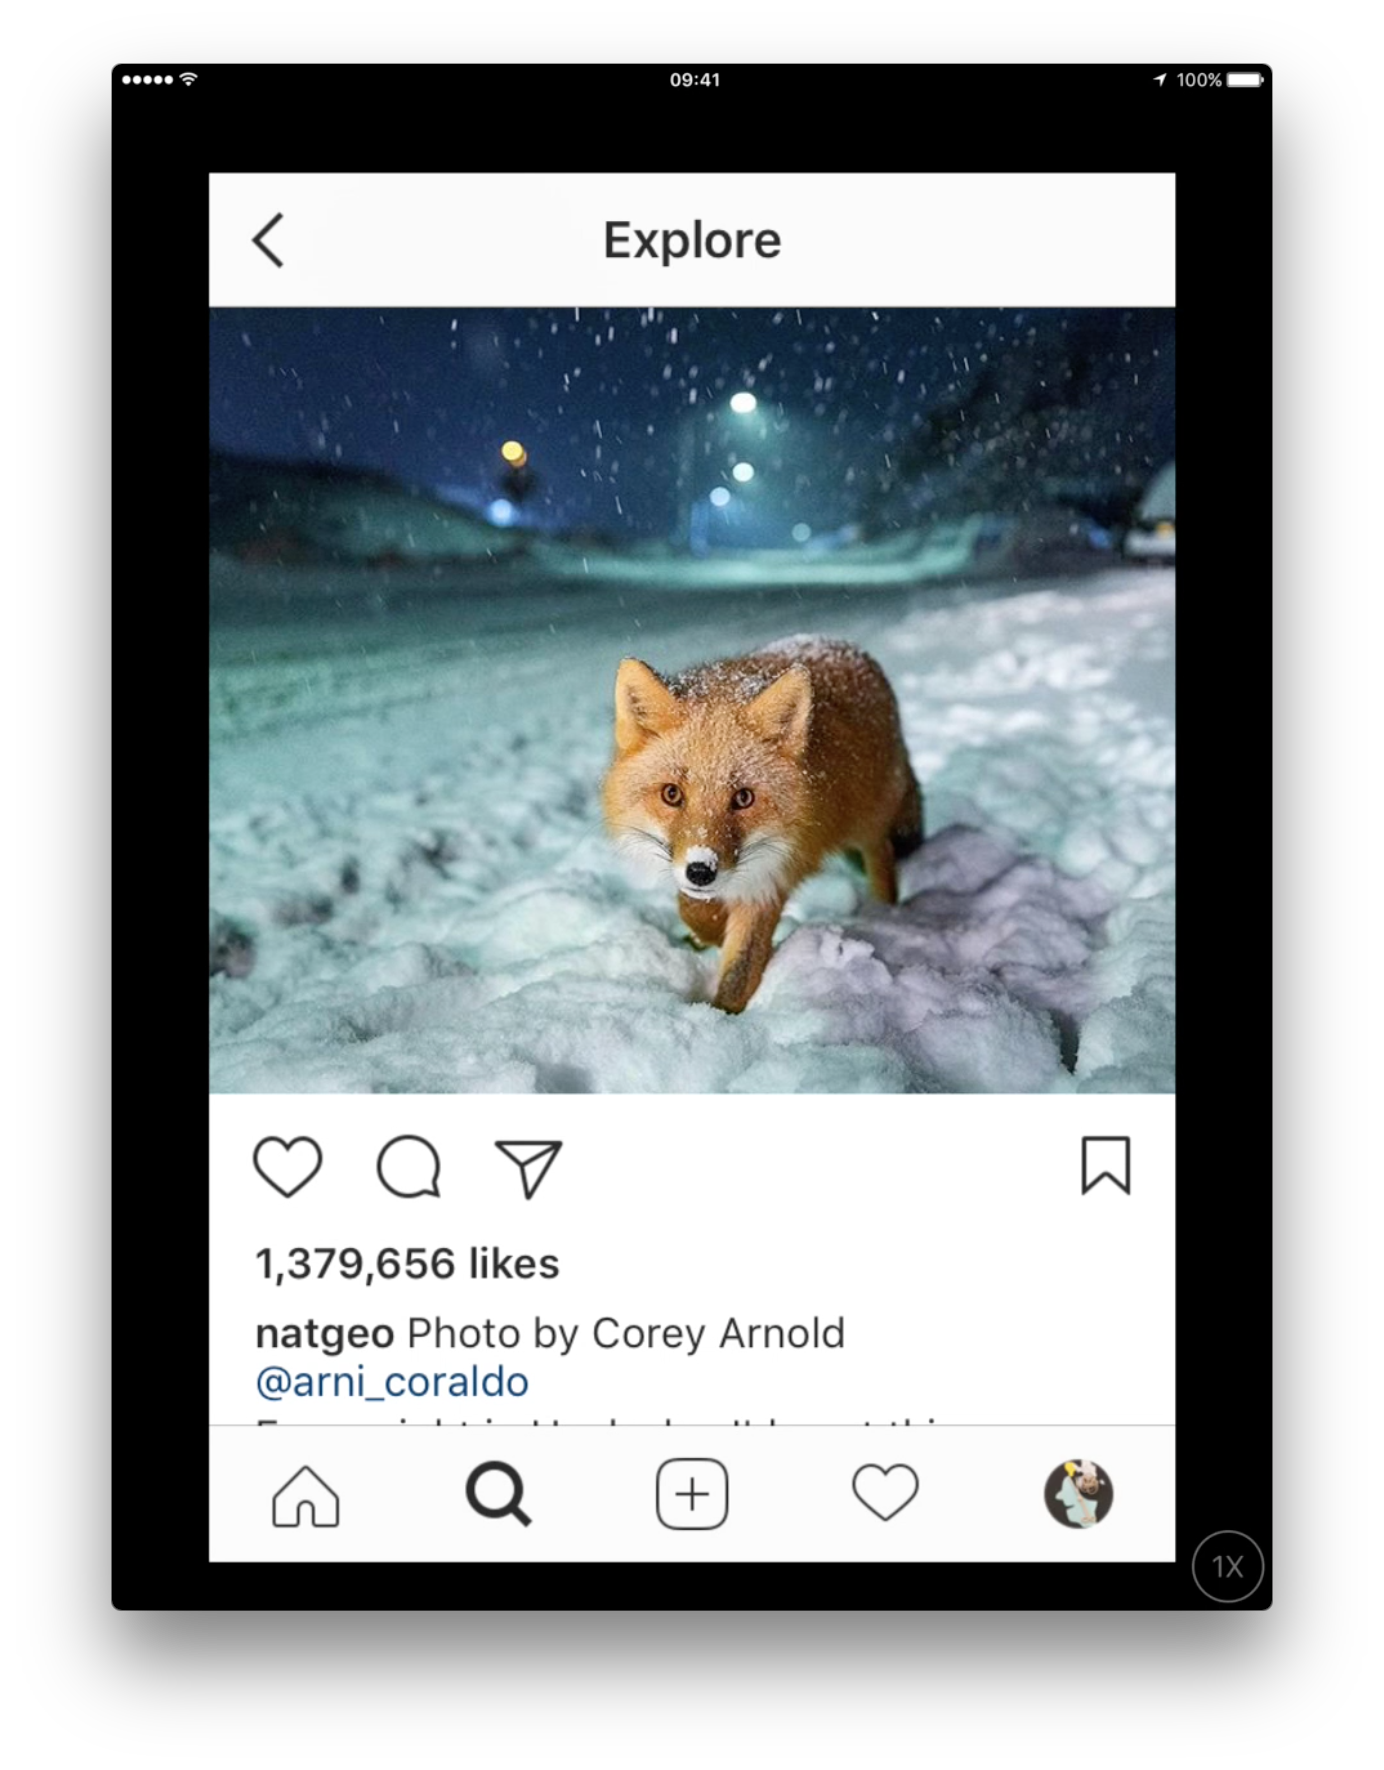
You can explore what other people share with the buttons at the bottom of the screen:
The wee house shows all the photos you have shared plus the photos of people you follow. With the wee magnifying glass next to it you can browse all the photos shared by others. The plus is for sharing your own photos (as we have just done). The heart shows all the photos you like in your heart collection. When you look at photos, there is always a wee heart underneath them. When you tap the heart, the person who shared it will be notified and you can find the photo again in this heart collection. The photo will not be saved on your iPad though.
How to see photos from a private account
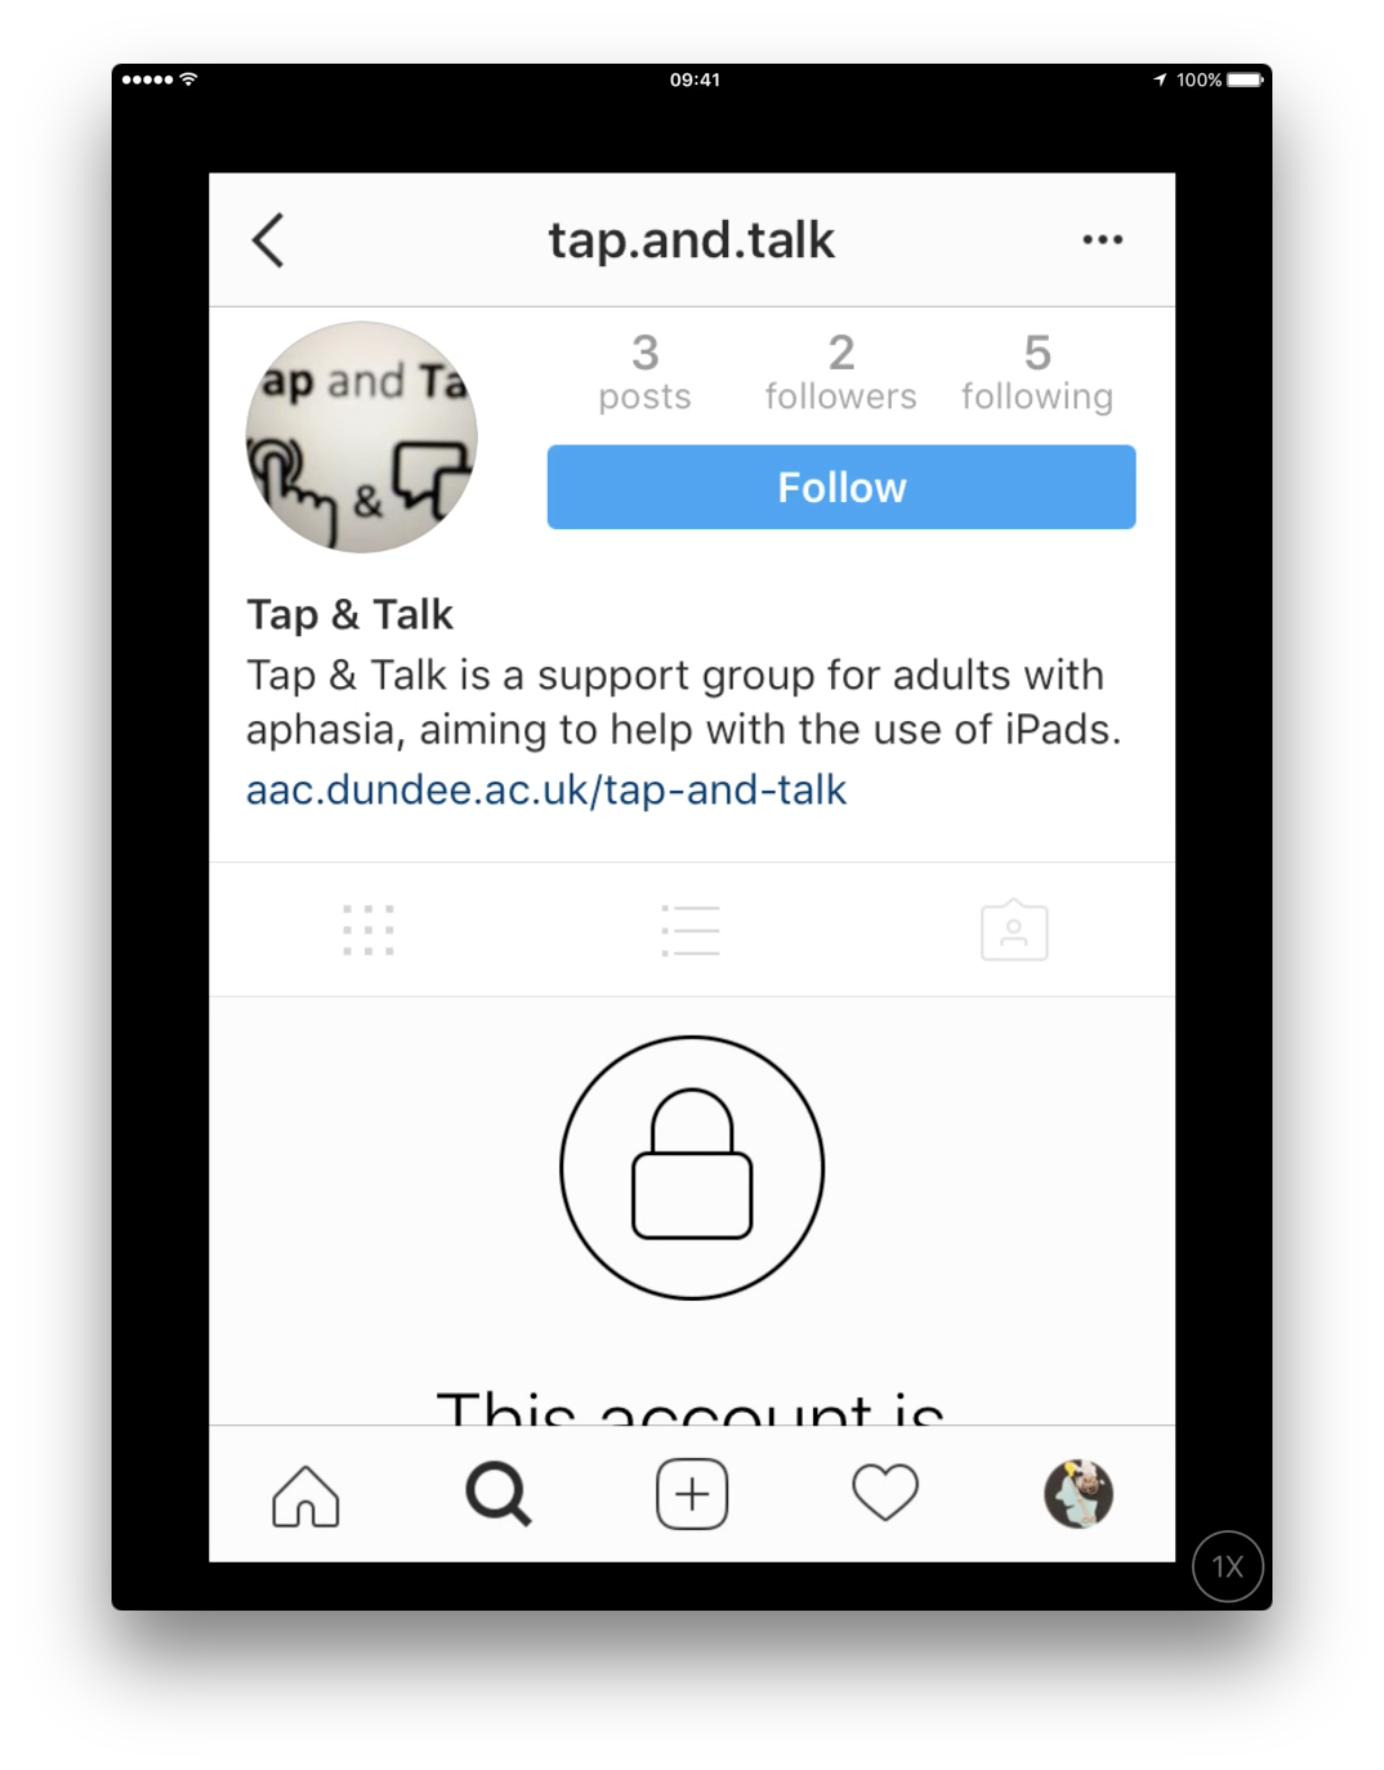
If you want to see photos from a private account you need to send a “Follow Request”. Find the Tap and Talk account (which is private) and request to follow:
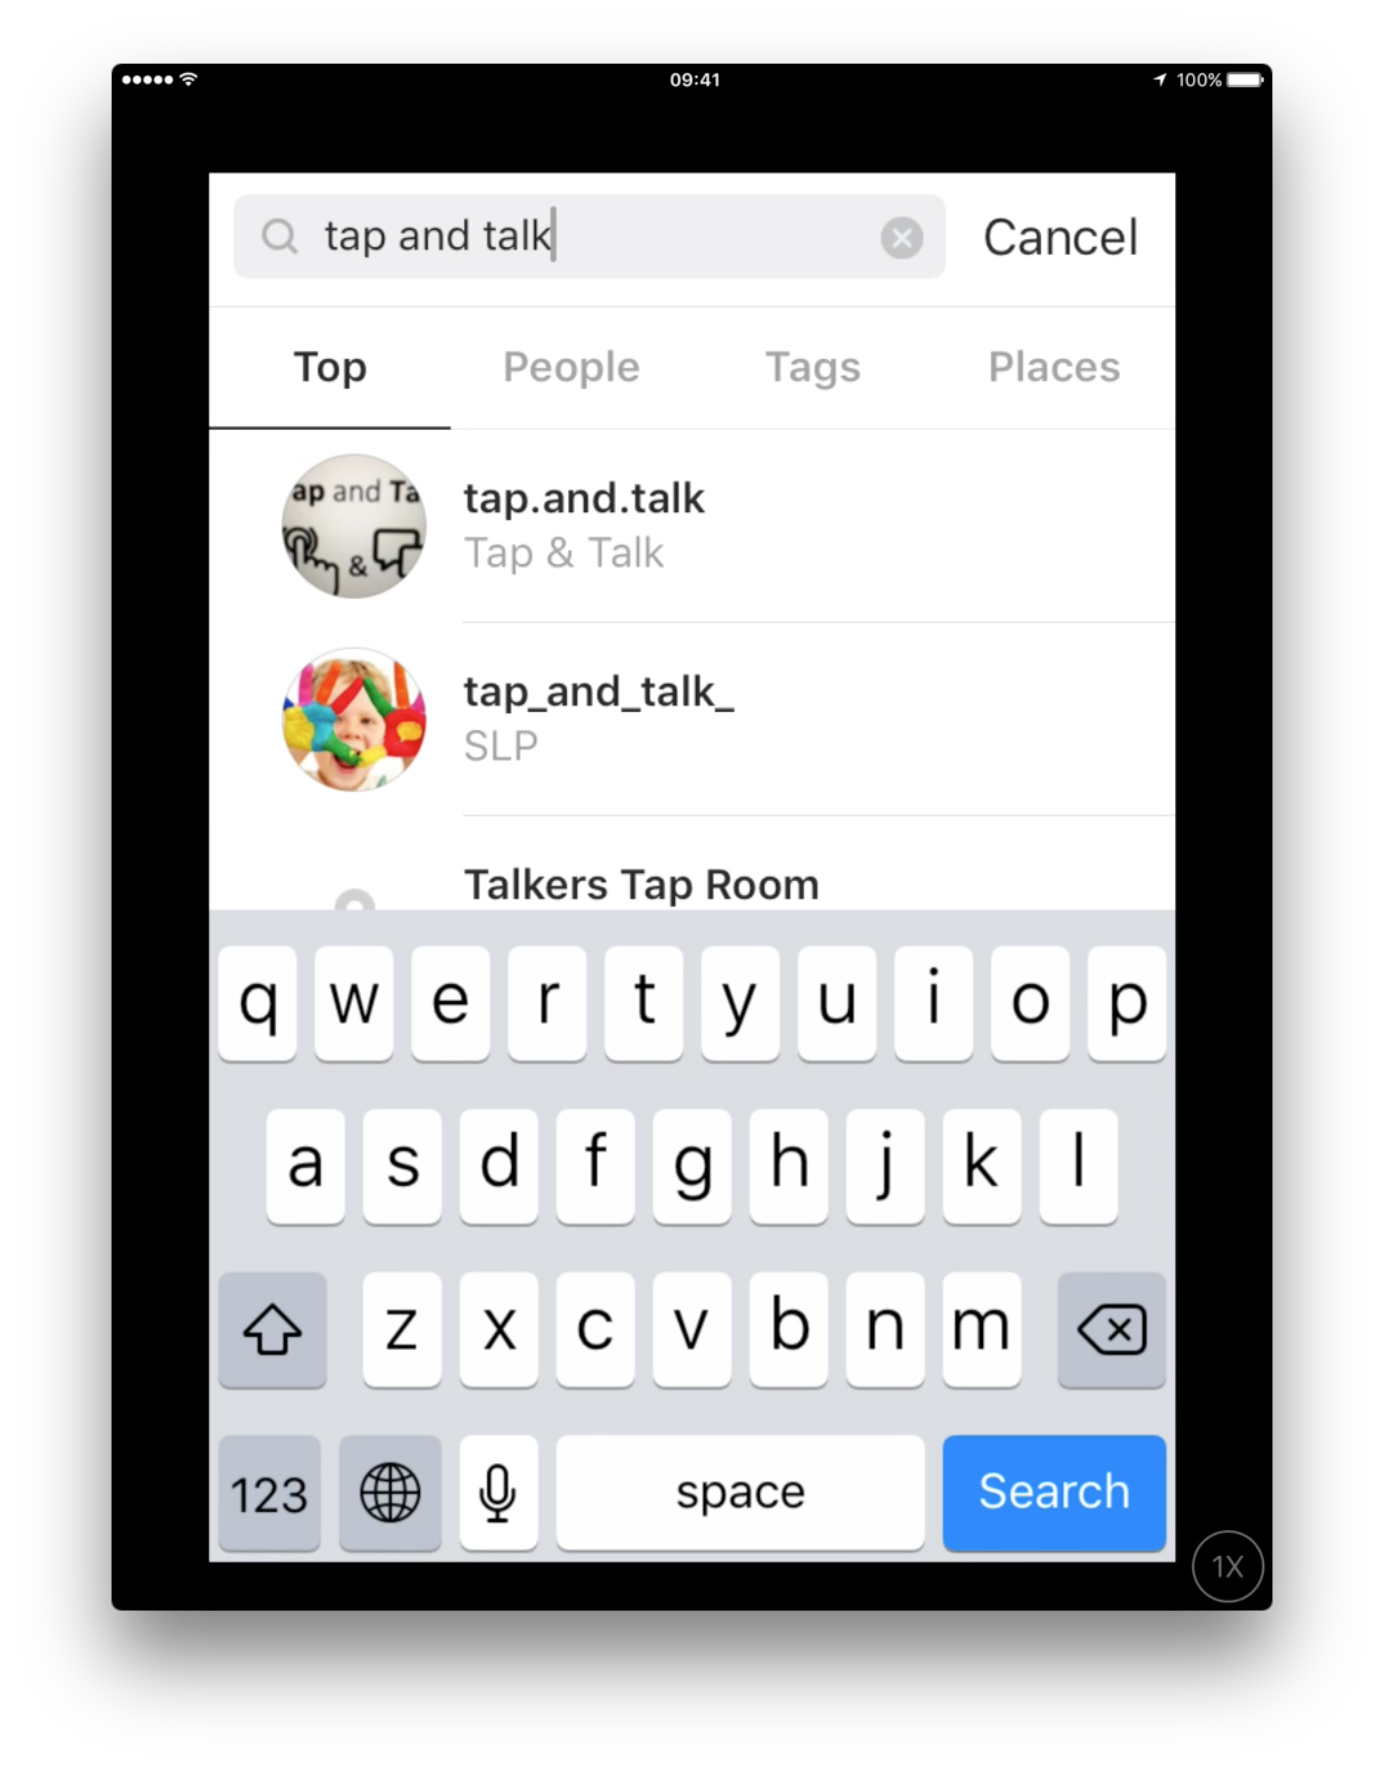
Tap the wee magnifying glass at the bottom of the screen. Then tap the search window at the top of the screen and enter “tap and talk”. You will find quite a few users with similar names. Make sure you select the tap.and.talk (with dots between the words) for our Tap and Talk group.
Now tap “Follow” and I will get a request that you want to see my tap.and.talk photos.
If you want others to see your photos, they need to do the same. Find your account and send you a “Follow Request”.
Any questions?
Please get in touch or speak to me at our next session!

